Physical Address
304 North Cardinal St.
Dorchester Center, MA 02124
Physical Address
304 North Cardinal St.
Dorchester Center, MA 02124

Your Guide to the Latest in Tech
Your Guide to the Latest in Tech
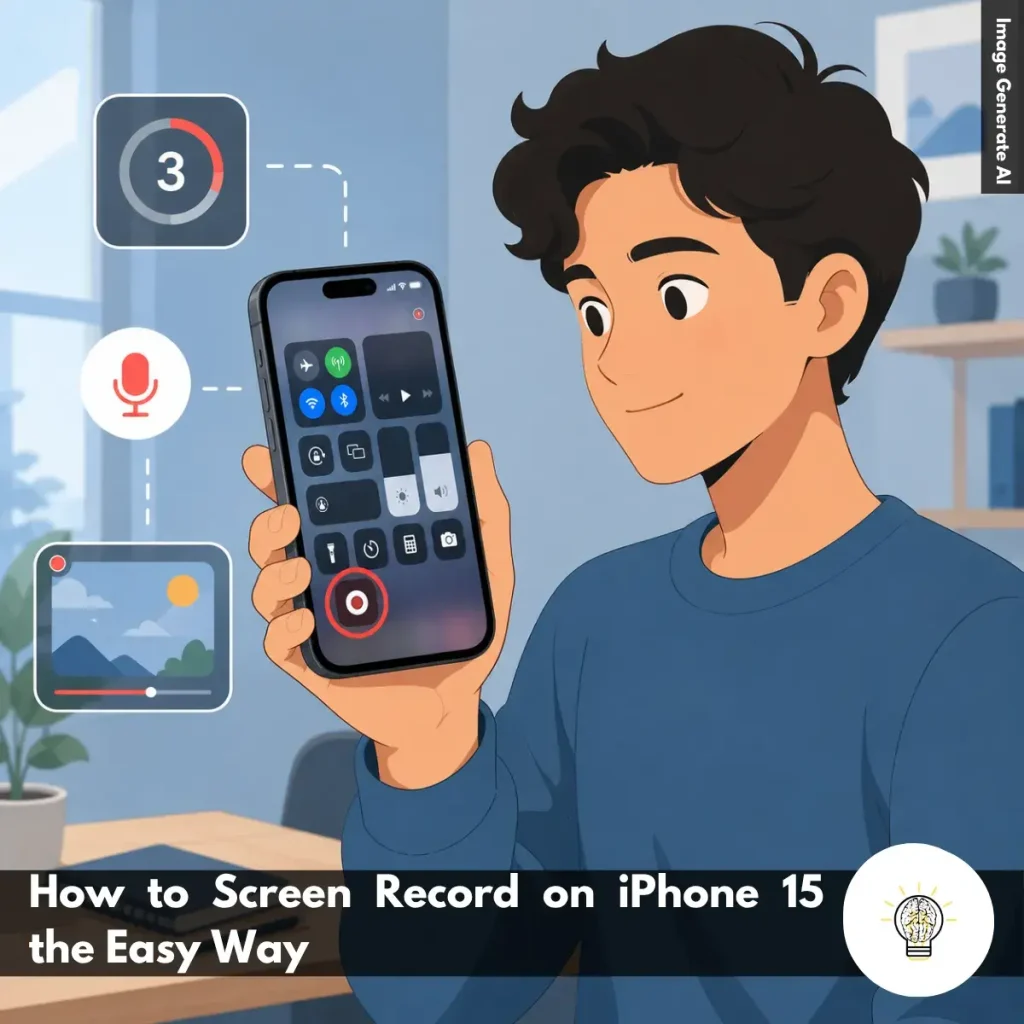
Ruminesia – Have you ever wanted to save something happening on your iPhone screen, only to realize you’re not quite sure how to record it? Maybe it’s a gameplay moment worth sharing, a bug you need to report, or a quick tutorial for a friend. Situations like these are exactly why many users start looking for How to Screen Record on iPhone 15.
Interestingly, the feature has been built into the iPhone for years, yet plenty of people either overlook it or never explore all the options available. The problem is that finding the button is only part of the process—understanding how to record with audio, where the videos are saved, and why some apps behave differently can make the experience much smoother.
In practice, screen recording has become one of those small features that turns out to be surprisingly useful in everyday life. Whether you’re troubleshooting an issue, capturing an online lesson, or simply saving something important before it disappears, knowing how to use it properly can save time and frustration when you need it most.
Key Highlights:
- Screen recording is built into iPhone 15 and requires no additional apps.
- Adding Screen Recording to Control Center makes capturing your screen much faster.
- A simple three-second countdown gives you time before recording begins.
- Microphone audio lets you create tutorials, walkthroughs, and narrated recordings.
- All recordings save automatically to Photos for quick editing and sharing.
- Some apps restrict screen recording, usually due to privacy or copyright protections.
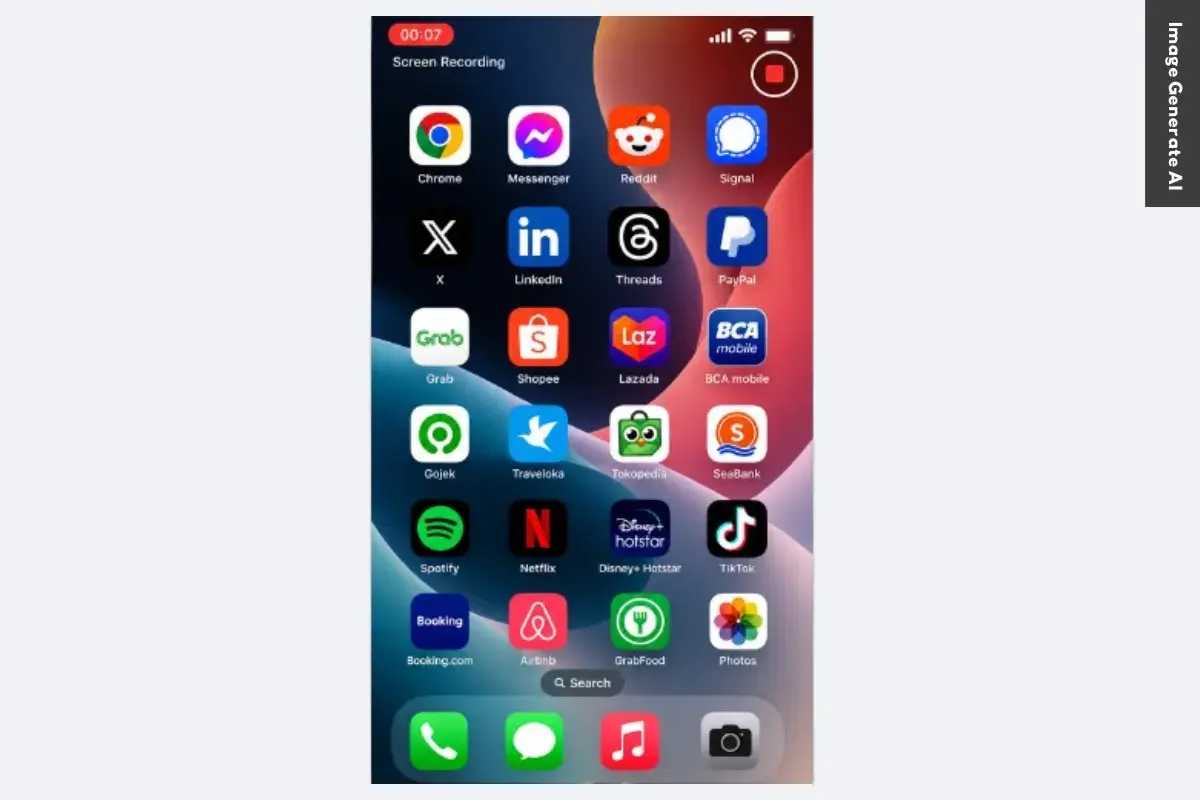
Screen recording is one of the most useful built-in features on the iPhone 15. Whether you want to save a gameplay highlight, create a quick tutorial, or capture something on your screen to share with others, the feature is already included in iOS 17 and later.
The process is straightforward, and you can even record your voice through the microphone if you need to add explanations or commentary. Before you start, it’s worth making sure the Screen Recording shortcut is easily accessible from the Control Center.
Before recording your screen, make sure the Screen Recording tool is available in the Control Center.
Once enabled, the Screen Recording button will appear in the Control Center, making it much easier to access whenever you need it.
What many users don’t realize is that this setup only needs to be done once. After adding the shortcut, it stays available unless you remove it manually. This small step can save time later, especially if you frequently record tutorials, app demonstrations, or troubleshooting guides.
Once Screen Recording is enabled, capturing your screen only takes a few taps.
During recording, everything displayed on your screen will be captured as a video. This makes it useful for demonstrating app features, recording gameplay, or showing someone how to complete a specific task.
To stop recording:
- Tap the red status indicator at the top of the screen, or
- Tap the Dynamic Island and select Stop.
After recording ends, your video is automatically saved to the Photos app, so you can review it immediately.
If you want to include narration or commentary, you can enable microphone audio before starting the recording.
This option is especially useful when creating walkthroughs, tutorials, or troubleshooting videos where spoken explanations provide additional context.
Interestingly, all screen recordings are automatically stored in the Photos app under Screen Recordings, making them easy to find, edit, and share. In practice, this means you can trim unnecessary sections or send the video to others right after recording.
One thing to keep in mind is that some apps may block screen recording for privacy, security, or copyright reasons. If a recording appears blank or certain content doesn’t show up, the restriction is usually imposed by the app itself rather than the iPhone 15.
Recording your screen on an iPhone 15 is surprisingly simple once you know where the feature is located. If you’re looking for how to Screen Record on iPhone 15 without an App, these steps will help you get started quickly and make the most of Apple’s built-in recording tool.
Before you start, make sure Siri is enabled, and Screen Recording is available on your iPhone 15. Once the setup is complete, learning how to Screen Record on iPhone 15 with Siri is surprisingly simple and only takes a voice command.
Read Also:
Looking for quick answers about screen recording on iPhone? Here are the most common questions users ask, along with practical solutions you can use right away.
To enable Screen Recording, open Settings > Control Center and tap the green + icon next to Screen Recording.
Once added, the feature will appear in Control Center and remain there unless you remove it manually. This only takes a few seconds and gives you quick access whenever you need to screen record on iPhone.
Starting a recording is simple:
A red indicator at the top of the screen confirms that recording is active.
In most cases, iPhone automatically captures internal audio from supported apps and games. To improve results:
Keep in mind that some apps restrict audio capture for copyright or privacy reasons.
To include your voice during recording:
This is useful for tutorials, walkthroughs, and narrated demonstrations.
All screen recordings are automatically saved in the Photos app. To find them:
You can edit, share, or delete recordings directly from there.
The most common cause is insufficient storage space. Other possible reasons include:
Try freeing up storage and restarting your iPhone before recording again.
You can stop recording in two ways:
After stopping, the video is automatically saved to Photos.
You can edit recordings directly in the Photos app.
You can also crop, rotate, and apply basic adjustments without installing another app.
Missing audio is usually caused by recording settings. Check the following:
One thing many users overlook is that microphone audio and internal audio are controlled separately.
No, iPhone does not allow FaceTime call audio to be captured through Screen Recording. While you can record the screen itself, the audio portion is typically blocked for privacy and legal reasons. This restriction helps protect participants and comply with recording consent laws in many regions.
Learning how to Screen Record on iPhone 15 is one of those small skills that can turn out to be surprisingly useful. Whether you’re saving an important moment, creating a quick tutorial, or troubleshooting an issue, being able to capture exactly what’s happening on your screen can make everyday tasks much easier.
Interestingly, the feature itself isn’t complicated—the real value comes from knowing when and how to use it effectively. Once you understand the basics, screen recording becomes less of a hidden tool and more of a practical shortcut that naturally fits into your daily iPhone use.
You may have found yourself needing to explain something, document a problem, or save content before it disappears. In moments like those, screen recording can save both time and frustration. Have you discovered any creative or unexpected ways to use screen recording on your iPhone?