Physical Address
304 North Cardinal St.
Dorchester Center, MA 02124
Physical Address
304 North Cardinal St.
Dorchester Center, MA 02124
Your Guide to the Latest in Tech
Your Guide to the Latest in Tech
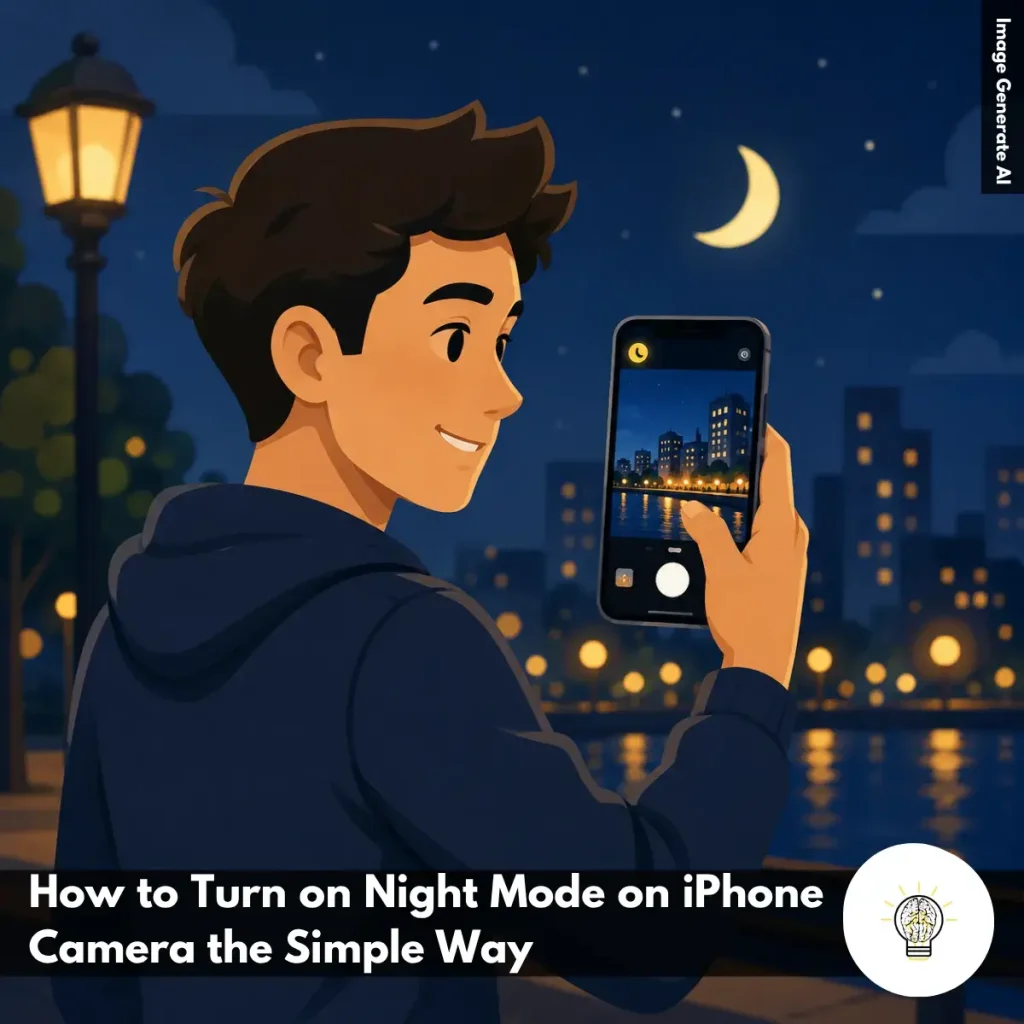
Ruminesia – Have you ever taken a photo with your iPhone at night, only to find that it looks much darker and blurrier than what you saw with your own eyes? It’s a common frustration, especially when you’re trying to capture a memorable moment, city lights, or a cozy indoor scene. That’s exactly why many users search for How to Turn On Night Mode on iPhone Camera when their photos don’t turn out as expected.
Interestingly, Night Mode is one of those iPhone features that works so seamlessly that many people don’t fully understand when it activates—or how much control they actually have over it. The result is that some users miss out on sharper, brighter photos simply because they aren’t taking advantage of the feature properly.
The good news is that using Night Mode doesn’t require advanced photography skills. Once you know where to find it and how to adjust a few settings, your iPhone can capture significantly better images in challenging lighting conditions. And in many real-world situations, those small adjustments can make the difference between a photo you delete and one you want to keep.
Key Highlights
- Night Mode activates automatically when your iPhone detects low-light conditions.
- The moon icon shows whether Night Mode is available or currently active.
- Manually enabling Night Mode gives you more control in challenging lighting.
- Longer exposure times help capture brighter photos with better detail.
- Keeping your iPhone steady is crucial for sharper Night Mode results.
- Small adjustments can dramatically improve low-light photos without extra equipment.
If you’ve ever wondered, What is Night Mode in Camera Settings on iPhone, the good news is that it works automatically in most situations. When your iPhone detects a low-light environment, a small moon icon appears in the Camera app and turns yellow when Night Mode is active. At that point, the camera automatically adjusts the exposure to capture more light and improve image quality without requiring any complicated settings.
If you’d like more control, you can manually adjust the exposure time. Simply tap the arrow at the top of the screen, select the Night Mode controls, and use the slider to choose an exposure between 1 and 30 seconds. The iPhone then combines multiple frames into a single image, helping preserve detail, improve brightness, and reduce noise in darker scenes.
Night Mode is available on the iPhone 11 and newer models, while certain Pro models also support it for selfies and portrait photography. Understanding how the feature works can make a noticeable difference when shooting in low light, helping you capture photos that look sharper, brighter, and more natural.
Night photography can be challenging, especially when there isn’t enough light for the camera to work with. Understanding Why It is Important to Use Night Mode for Night Photography? helps you get better results without relying on complicated camera settings.
The Benefits of Using Night Mode for Night Photography become obvious the moment you start shooting in darker environments. Instead of struggling with blurry or underexposed photos, Night Mode helps your iPhone capture clearer, brighter images with minimal effort.

Knowing how to turn on Night Mode on iPhone Camera can make a noticeable difference when shooting in dim environments. Whether you’re capturing a city skyline after sunset, a cozy indoor scene, or a late-night gathering with friends, Night Mode helps your iPhone gather more light and preserve details that would otherwise be lost.
The good news is that Apple designed the feature to work automatically in most situations. However, understanding how to control it manually gives you more flexibility and often leads to better results.
Start by opening the built-in Camera app and selecting Photo mode.
While the Camera app offers several shooting options, Night Mode is primarily designed for standard photo capture. If you’re using another mode, such as Panorama or certain video settings, the feature may not be available.
Before moving on, make sure Photo mode is active so your iPhone can detect low-light conditions correctly.
Night Mode only appears when your iPhone determines that the surrounding environment is dark enough to benefit from longer exposure.
For example, you may see it activate when taking photos indoors at night, in restaurants with dim lighting, or outdoors after sunset. When available, a small moon icon will appear near the flash controls.
A quick way to understand its status:
Interestingly, many users assume the feature is always on, but it only appears when the camera detects that extra light is needed.
In some situations, Night Mode may not activate automatically, even when lighting conditions seem dark. If that happens, simply tap the moon icon to enable it yourself. Once activated, the icon will turn yellow, indicating that Night Mode is now being used for the shot.
This gives you more control over how the camera handles challenging lighting conditions and can help improve image quality in borderline low-light scenes.
One of Night Mode’s most useful features is the ability to adjust exposure time. To access this control:
Sliding toward Max allows the camera to gather more light, which can produce brighter images with improved detail and reduced noise.
In practice, longer exposure times are especially useful when photographing landscapes, city lights, or stationary subjects in very dark environments.
Once your settings are ready, try to keep the iPhone completely still while the image is being captured.
Unlike a standard photo, Night Mode often takes a few seconds to collect enough light. Even small movements during this process can introduce blur and reduce sharpness. For the best results:
What many users don’t realize is that stability often has a bigger impact on Night Mode results than exposure settings alone.
By following these steps, you can take full advantage of Night Mode and consistently capture brighter, sharper, and more natural-looking low-light photos with your iPhone.

| iPhone Model | Native Night Mode | Manual Control | Notes |
|---|---|---|---|
| iPhone X | No | Third-party apps required | Use apps like NC Pro |
| iPhone XR | No | Third-party apps required | Use apps like NC Pro |
| iPhone 11 | Yes | Yes | Automatic activation |
| iPhone 12 | Yes | Yes | Automatic activation |
| iPhone 13 | Yes | Yes | Automatic activation |
| iPhone 14 | Yes | Yes | Automatic activation |
| iPhone 15 | Yes | Yes | Automatic activation |
| iPhone 16 | Yes | Yes | Automatic activation |
Understanding how to enable Night Mode on your iPhone camera across different models can save you time and help you get better low-light photos. The process varies depending on your iPhone, so it’s worth knowing what your device supports before heading out to shoot at night.
Getting great low-light photos isn’t just about turning on Night Mode. These Tips for Better Night Mode Photos on iPhone can help you capture sharper images, cleaner details, and more natural-looking results when shooting after dark.
Night mode helps improve low-light photos, but it may not always work correctly. If you’re experiencing issues, this step-by-step guide will help you troubleshoot Night mode on iPhone and quickly restore its performance.
Read Also:
Night Mode is one of the most useful iPhone camera features, but it can also be a little confusing at first. Here are answers to the most common questions users have about getting better low-light photos.
Night Mode is a camera feature that automatically activates in low-light environments to produce brighter and clearer photos without using the flash. It works by capturing multiple images at different exposures and combining them into a single, more detailed shot.
Night Mode only appears when your iPhone detects that the scene is dark enough. Try the following:
Night Mode is available on:
Older devices such as the iPhone X, XS, XR, and iPhone 8 do not include native Night Mode support.
Yes, but support depends on your iPhone model. The main difference is:
Keep in mind that Ultra Wide photos may require longer exposure times in very dark conditions.
Blurry Night Mode photos are usually caused by movement during the exposure. To improve sharpness:
One thing many users overlook is that even slight movement can affect image quality.
Yes. If you’re learning Frequently Asked Questions about Night Mode on iPhone Camera, this is one of the most useful controls to understand. When Night Mode is active:
Longer exposures capture more light but require a steadier camera.
Not exactly. Night Mode is designed for photos, not standard video recording. However, iPhone 12 and newer models support Night Mode Time-lapse, which improves brightness when creating time-lapse videos in dark environments.
Yes, but only on newer models.
When available, the feature activates automatically in low-light situations.
You can make your iPhone remember your preferred Night Mode setting. Follow these steps:
After that, the camera remembers whether you last left Night Mode on or off.
Night Mode can occasionally struggle with mixed lighting sources, such as neon signs, LED lights, or moonlight. To improve color accuracy:
In practice, a few quick edits are often enough to make colors look much more natural.
Learning how to turn on night mode on iPhone Camera is ultimately less about finding a hidden setting and more about understanding how your iPhone works in real-world situations. Once you know when Night Mode appears and how to adjust it, capturing better low-light photos becomes much more intuitive.
Interestingly, many disappointing night photos aren’t caused by poor camera quality. More often, they’re the result of small things—like camera movement, incorrect expectations, or not realizing that Night Mode can be adjusted manually. A few simple tweaks can often reveal details and colors that would otherwise be lost in the dark.
The next time you’re photographing a night skyline, a dinner with friends, or a quiet evening scene, take a moment to experiment with Night Mode and see what difference it makes. You might be surprised by how much your iPhone can capture when given a little extra time and stability. Have you found any Night Mode tips or tricks that work particularly well for you?