Physical Address
304 North Cardinal St.
Dorchester Center, MA 02124
Physical Address
304 North Cardinal St.
Dorchester Center, MA 02124
Your Guide to the Latest in Tech
Your Guide to the Latest in Tech
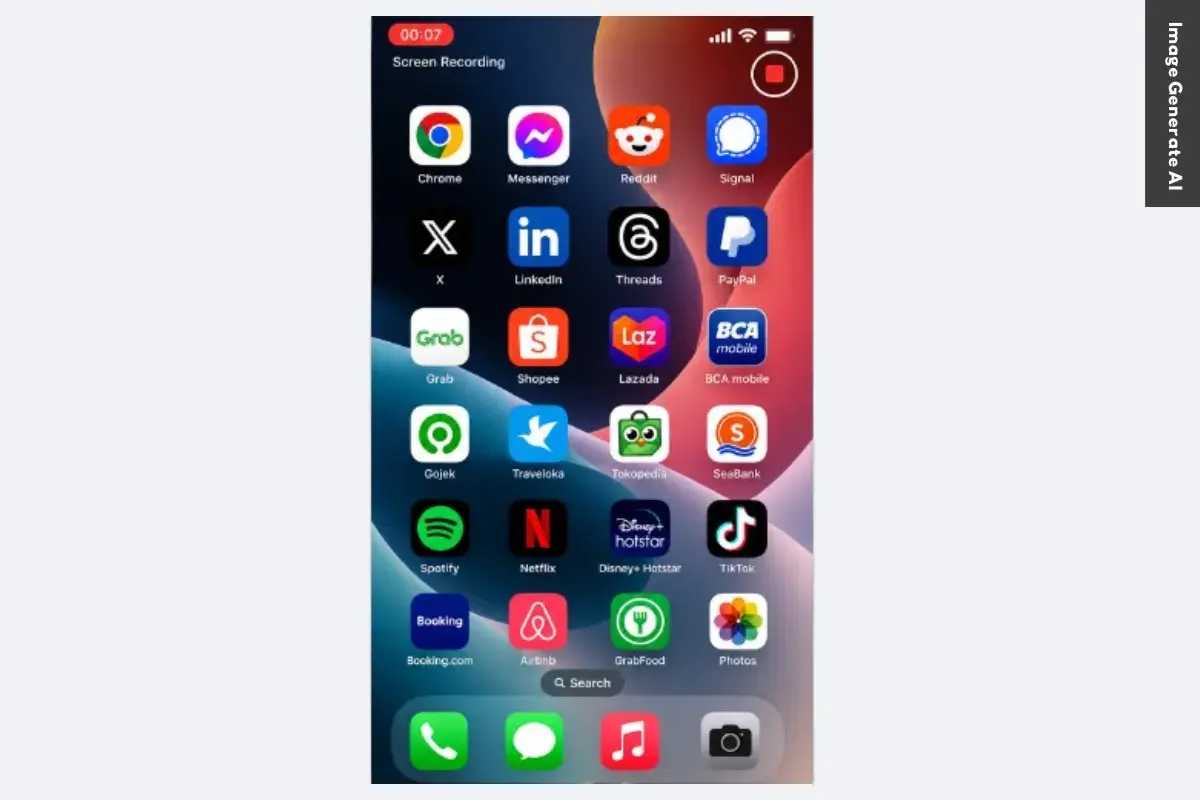
Ruminesia – There are times when you want to save exactly what’s happening on your iPhone screen—whether it’s a gameplay moment, a helpful tutorial, or an issue you need to show someone. The problem is that many users aren’t sure where the screen recording feature is located or how to access it quickly.
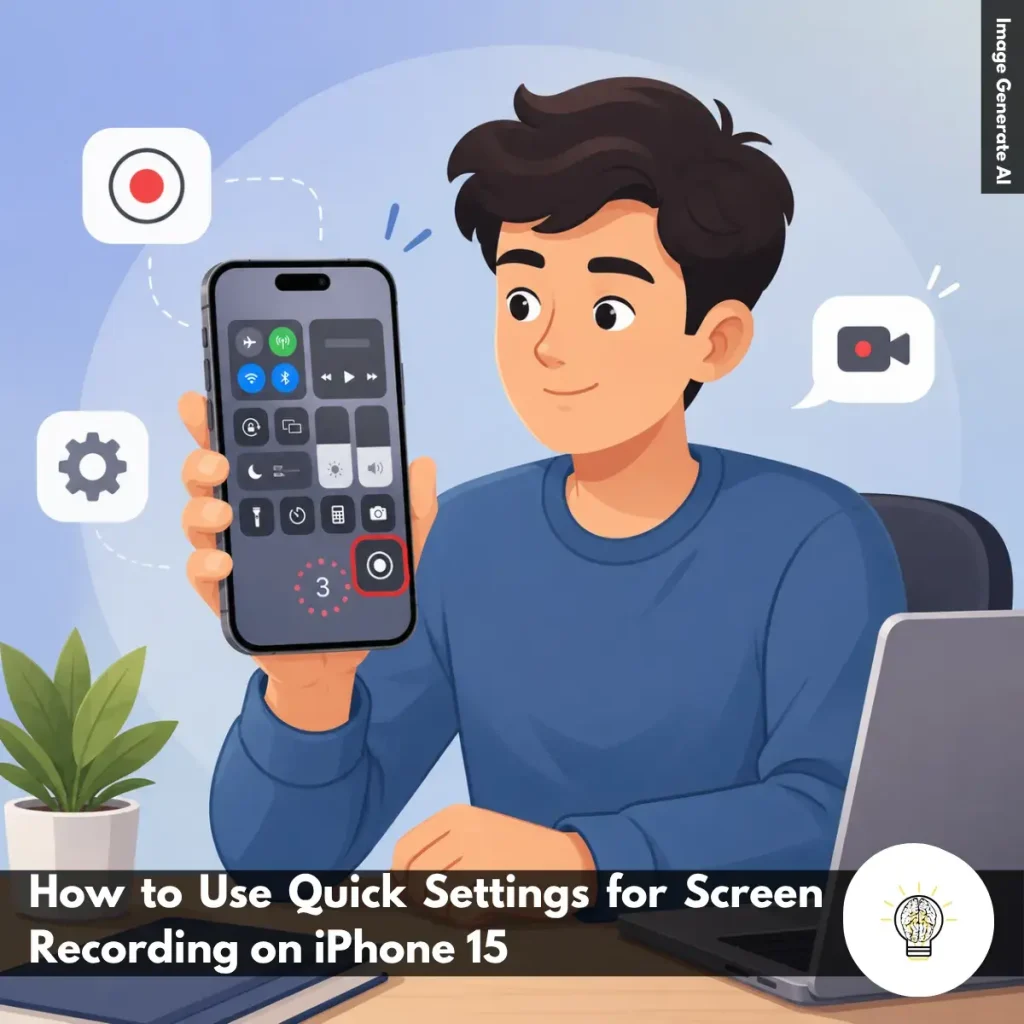
If you’ve been searching for How to Use Quick Settings for Screen Recording on iPhone 15, you’ll be glad to know that the process is much simpler than it looks. Once the shortcut is added to Control Center, recording your screen takes only a few seconds.
Interestingly, screen recording has become one of those features people don’t think about until they need it. When that moment comes, knowing the fastest way to start and stop a recording can save time and make sharing information much easier.
Key Highlights
- Screen recording on iPhone 15 works directly from Control Center.
- Adding the Screen Recording shortcut is a one-time setup process.
- A built-in 3-second countdown gives you time to prepare the screen.
- Enable the microphone to record voice explanations alongside screen activity.
- Recordings are automatically saved to Photos with no manual saving required.
- Control Center offers the fastest way to capture tutorials, apps, and gameplay.
If you need to capture something on your screen quickly, Control Center is the easiest way to do it. Once the Screen Recording shortcut is added, you can start recording in seconds without installing any extra apps or changing complicated settings.
Whether you’re creating a tutorial, showing a bug to someone, recording gameplay, or saving an on-screen process for later, this built-in feature makes the job simple and convenient.
Before you can use screen recording from Quick Settings, you’ll need to make sure the shortcut is available in Control Center. Fortunately, this only takes a moment and only needs to be done once. To add the Screen Recording control:
You can also find the same option by going to Settings > Control Center.
In practice, adding frequently used controls to Control Center can save a surprising amount of time. Many iPhone users customize this area for features they use regularly, and screen recording is one of the most useful shortcuts to keep within reach.
Once the Screen Recording button is available, starting a recording is straightforward. Follow these steps:
What many users don’t realize is that microphone audio and screen activity serve different purposes. Screen recording captures what’s happening on the display, while enabling the microphone allows you to add live narration. This is especially useful for tutorials, app demonstrations, or walkthrough videos where explanations help viewers follow along.
When you’re finished recording, stopping the capture is just as easy as starting it. You can stop a recording by:
Interestingly, many users assume they need to manually save or export the file, but the iPhone handles this process automatically. That means your recording is immediately available for viewing, editing, sharing, or uploading.
The Quick Settings method is ideal when speed matters. Whether you’re recording a quick app tutorial, documenting an issue, or capturing gameplay highlights, it’s the fastest way to use How to Use Quick Settings for Screen Recording on iPhone 15. If the Screen Recording control doesn’t appear after setup, a quick device restart or iOS update usually resolves the issue.
Read Also:
Looking for quick answers about screen recording on iPhone? Here are the most common questions users ask, along with practical solutions you can use right away.
To enable Screen Recording, open Settings > Control Center and tap the green + icon next to Screen Recording.
Once added, the feature will appear in Control Center and remain there unless you remove it manually. This only takes a few seconds and gives you quick access whenever you need to screen record on iPhone.
Starting a recording is simple:
A red indicator at the top of the screen confirms that recording is active.
In most cases, iPhone automatically captures internal audio from supported apps and games. To improve results:
Keep in mind that some apps restrict audio capture for copyright or privacy reasons.
To include your voice during recording:
This is useful for tutorials, walkthroughs, and narrated demonstrations.
All screen recordings are automatically saved in the Photos app. To find them:
You can edit, share, or delete recordings directly from there.
The most common cause is insufficient storage space. Other possible reasons include:
Try freeing up storage and restarting your iPhone before recording again.
You can stop recording in two ways:
After stopping, the video is automatically saved to Photos.
You can edit recordings directly in the Photos app.
You can also crop, rotate, and apply basic adjustments without installing another app.
Missing audio is usually caused by recording settings. Check the following:
One thing many users overlook is that microphone audio and internal audio are controlled separately.
No, iPhone does not allow FaceTime call audio to be captured through Screen Recording.
While you can record the screen itself, the audio portion is typically blocked for privacy and legal reasons. This restriction helps protect participants and comply with recording consent laws in many regions.
Once you know how to use Quick Settings for Screen Recording on iPhone 15, capturing what’s happening on your screen becomes something you can do almost without thinking. Whether you’re sharing a tutorial, saving an important moment, or troubleshooting an issue, having quick access to this feature can make everyday tasks much easier.
Interestingly, screen recording is one of those tools many people overlook until they actually need it. When the moment comes, knowing where to find it and how to use it efficiently can save time and eliminate unnecessary frustration.
You might be surprised by how often this simple feature comes in handy. Have you used screen recording on your iPhone for something unexpected or particularly useful? It’s often those real-world experiences that reveal just how valuable a small feature can be.