Physical Address
304 North Cardinal St.
Dorchester Center, MA 02124
Physical Address
304 North Cardinal St.
Dorchester Center, MA 02124
Your Guide to the Latest in Tech
Your Guide to the Latest in Tech
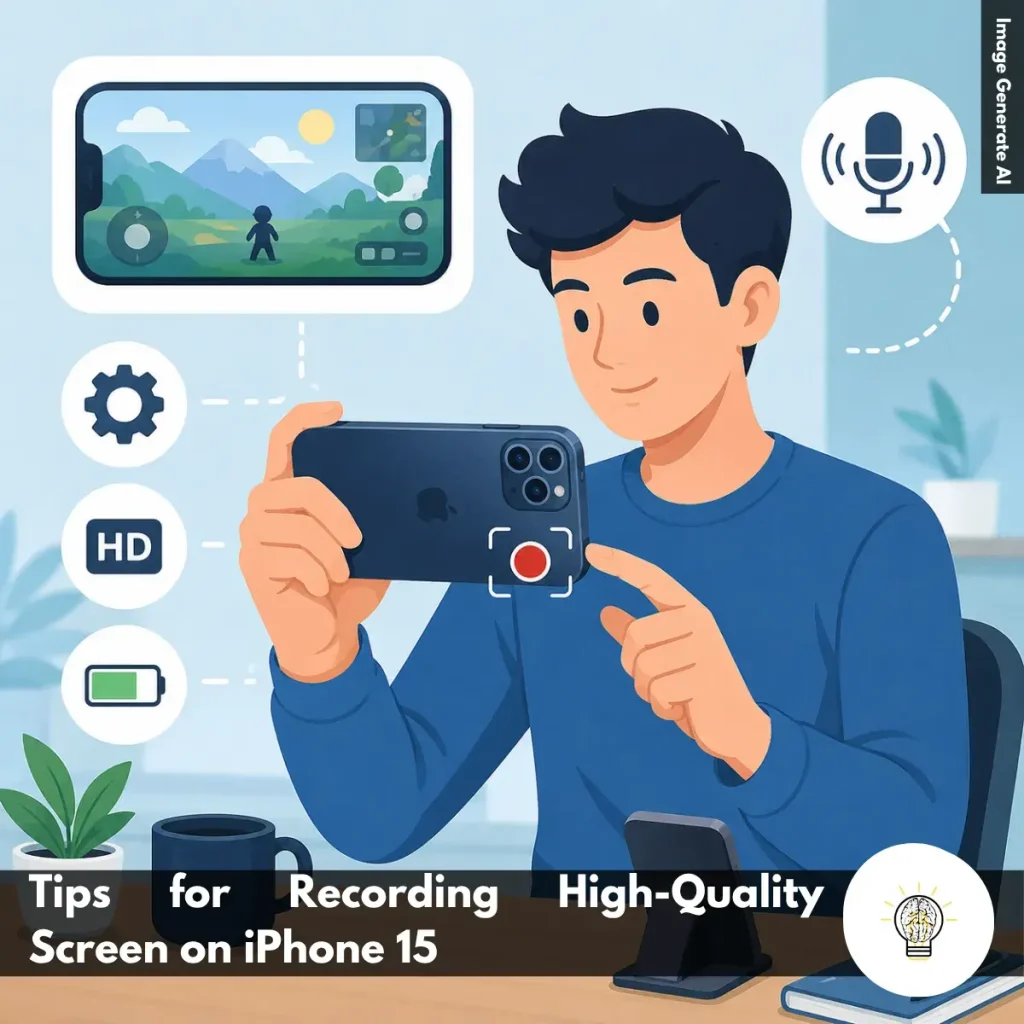
Ruminesia – Have you ever recorded your iPhone screen and realized later that the video wasn’t as clear as you expected? Often, the problem isn’t the content itself but a few small details that affect the final result.
That’s why learning a few practical Tips for Recording High-Quality Screen on iPhone 15 can make a noticeable difference. Simple adjustments can help improve clarity, reduce distractions, and create a smoother viewing experience.
Interestingly, professional-looking screen recordings don’t require complicated tools. In most cases, a little preparation and the right settings are enough to make your videos look cleaner, sharper, and easier to follow.
Key Highlights
- Landscape mode makes screen recordings easier to watch across most devices.
- Higher recording quality preserves text clarity and important on-screen details.
- An external microphone can significantly improve narration and viewer engagement.
- Freeing up storage beforehand helps prevent recording interruptions and save errors.
- A fully charged battery ensures smoother recording during longer sessions.
- Enabling Do Not Disturb keeps recordings clean and protects personal information.
If you’re looking for practical Tips for Recording High-Quality Screen on iPhone 15, a few simple adjustments can dramatically improve the final result. While the iPhone 15 offers built-in screen recording tools that are easy to use, producing clear, professional-looking recordings requires more than just tapping the Record button.
From optimizing video quality and audio clarity to preparing your device before recording, every small detail contributes to a smoother viewing experience. Whether you’re creating tutorials, demonstrating apps, recording gameplay, or capturing important on-screen activities, these tips can help ensure your recordings look polished, stable, and easy to follow.
One of the easiest ways to improve your screen recordings is to switch your iPhone 15 to landscape orientation before you start.
A wider screen layout gives viewers more room to see what’s happening, which is especially helpful for tutorials, gaming sessions, app walkthroughs, and presentations. In practice, landscape recordings also look more natural when viewed on laptops, monitors, TVs, and most video-sharing platforms.
Another advantage is that landscape videos typically avoid large black bars that often appear with vertical recordings. This creates a cleaner and more immersive viewing experience.
If your content involves multiple menus, detailed settings, or side-by-side elements, landscape mode makes everything easier to follow. What many users don’t realize is that a simple orientation change can instantly make a screen recording feel more polished and professional.
Clear visuals are essential when viewers need to follow on-screen actions step by step.
Before recording, take a moment to review your screen recording settings and choose the highest quality available on your device. Higher-quality recordings preserve fine details such as text, icons, menu options, and color accuracy.
This becomes particularly important when creating instructional content. Blurry text or unclear interface elements can quickly frustrate viewers and reduce the effectiveness of your video.
Besides that, better recording quality provides more flexibility if you decide to edit, crop, or upload the footage to platforms that compress videos. Starting with the best possible quality helps maintain clarity even after processing.
For anyone looking for practical Tips for Recording High-Quality Screen on iPhone 15, optimizing recording quality is one of the most impactful steps you can take.
Visual quality matters, but audio quality often determines whether viewers stay engaged.
If you’re adding voice explanations, tutorials, or commentary, consider using an external microphone instead of relying solely on the iPhone’s built-in mic. While the built-in microphone works well for casual recordings, it can sometimes pick up background noise, echoes, or inconsistent volume levels.
An external microphone helps produce clearer and more focused narration, making it easier for viewers to understand your instructions. This is particularly useful when recording in busy environments or rooms with noticeable ambient noise.
Interestingly, viewers are often more forgiving of minor visual imperfections than poor audio. Clear narration can significantly improve the overall viewing experience and make your content feel more professional.
Even a simple external microphone can create a noticeable upgrade in sound quality without requiring a complex setup.
High-quality screen recordings can take up a surprising amount of storage space.
Before you begin, check your available storage and remove any unnecessary files, unused apps, or old media if needed. Having enough free space helps your iPhone 15 save recordings smoothly without interruptions.
The problem is that many users only discover storage limitations after a recording unexpectedly stops or fails to save properly. This can be particularly frustrating when recording lengthy tutorials or important demonstrations.
Making storage checks part of your preparation routine helps avoid these issues and ensures a smoother recording process from start to finish.
A few minutes spent organizing storage beforehand can save you from losing valuable footage later.
Screen recording is a resource-intensive task that can quickly drain battery life, especially during long sessions.
To avoid interruptions, start with a fully charged iPhone 15 whenever possible. For extended recordings, keeping your device connected to a charger can provide additional peace of mind.
A stable power supply helps maintain consistent device performance throughout the recording process. It also reduces the risk of sudden recording interruptions caused by low battery warnings or automatic shutdowns.
This becomes even more important if you’re recording gameplay, multitasking between apps, or creating detailed tutorials that require extended screen activity.
Simply put, reliable battery power allows you to focus on your content instead of constantly monitoring your remaining charge.
Unexpected notifications can quickly ruin an otherwise perfect screen recording.
Before recording, enable Do Not Disturb or a Focus mode to prevent calls, messages, alerts, and app notifications from appearing on-screen. This helps keep your video clean, professional, and distraction-free.
Besides improving presentation quality, this step also protects your privacy. Notifications can sometimes reveal personal information, contact names, email previews, or sensitive content that you may not want included in the final recording.
In practice, a distraction-free screen allows viewers to focus entirely on the content you’re demonstrating without unnecessary interruptions.
Taking a few seconds to disable notifications can save you from having to re-record an entire video later.
Once your recording is finished, a few quick edits can make it much more engaging to watch.
Open the video in the Photos app and trim any unnecessary sections at the beginning or end. You can also remove mistakes, pauses, or moments where you navigated to the wrong screen.
These small adjustments help keep the content focused and easier for viewers to follow. Interestingly, even minor edits can make a recording feel significantly more professional without requiring advanced editing software.
The goal isn’t to create a heavily edited production. Instead, it’s about removing distractions and ensuring your message remains clear from start to finish.
A concise, well-trimmed screen recording often delivers a better viewing experience than a longer video filled with unnecessary pauses or mistakes.
Read Also:
Looking for quick answers about screen recording on iPhone? Here are the most common questions users ask, along with practical solutions you can use right away.
To enable Screen Recording, open Settings > Control Center and tap the green + icon next to Screen Recording.
Once added, the feature will appear in Control Center and remain there unless you remove it manually. This only takes a few seconds and gives you quick access whenever you need to screen record on iPhone.
Starting a recording is simple:
A red indicator at the top of the screen confirms that recording is active.
In most cases, iPhone automatically captures internal audio from supported apps and games. To improve results:
Keep in mind that some apps restrict audio capture for copyright or privacy reasons.
To include your voice during recording:
This is useful for tutorials, walkthroughs, and narrated demonstrations.
All screen recordings are automatically saved in the Photos app. To find them:
You can edit, share, or delete recordings directly from there.
The most common cause is insufficient storage space. Other possible reasons include:
Try freeing up storage and restarting your iPhone before recording again.
You can stop recording in two ways:
After stopping, the video is automatically saved to Photos.
You can edit recordings directly in the Photos app.
You can also crop, rotate, and apply basic adjustments without installing another app.
Missing audio is usually caused by recording settings. Check the following:
One thing many users overlook is that microphone audio and internal audio are controlled separately.
No, iPhone does not allow FaceTime call audio to be captured through Screen Recording.
While you can record the screen itself, the audio portion is typically blocked for privacy and legal reasons. This restriction helps protect participants and comply with recording consent laws in many regions.
Creating a great screen recording often comes down to the small things. The right settings, a distraction-free screen, and a little preparation can make the difference between a video that feels rushed and one that looks polished and easy to follow.
Interestingly, many of the best Tips for Recording High-Quality Screen on iPhone 15 don’t require extra apps or complicated editing. They’re simple habits that help you capture clearer visuals, better audio, and a smoother viewing experience from the start.
At the end of the day, screen recordings are meant to communicate something—whether it’s a tutorial, an idea, or a quick solution. Taking a few extra moments before recording can help ensure your message comes across exactly as intended. Have you discovered any screen recording tricks that work particularly well for you?