Physical Address
304 North Cardinal St.
Dorchester Center, MA 02124
Physical Address
304 North Cardinal St.
Dorchester Center, MA 02124
Your Guide to the Latest in Tech
Your Guide to the Latest in Tech
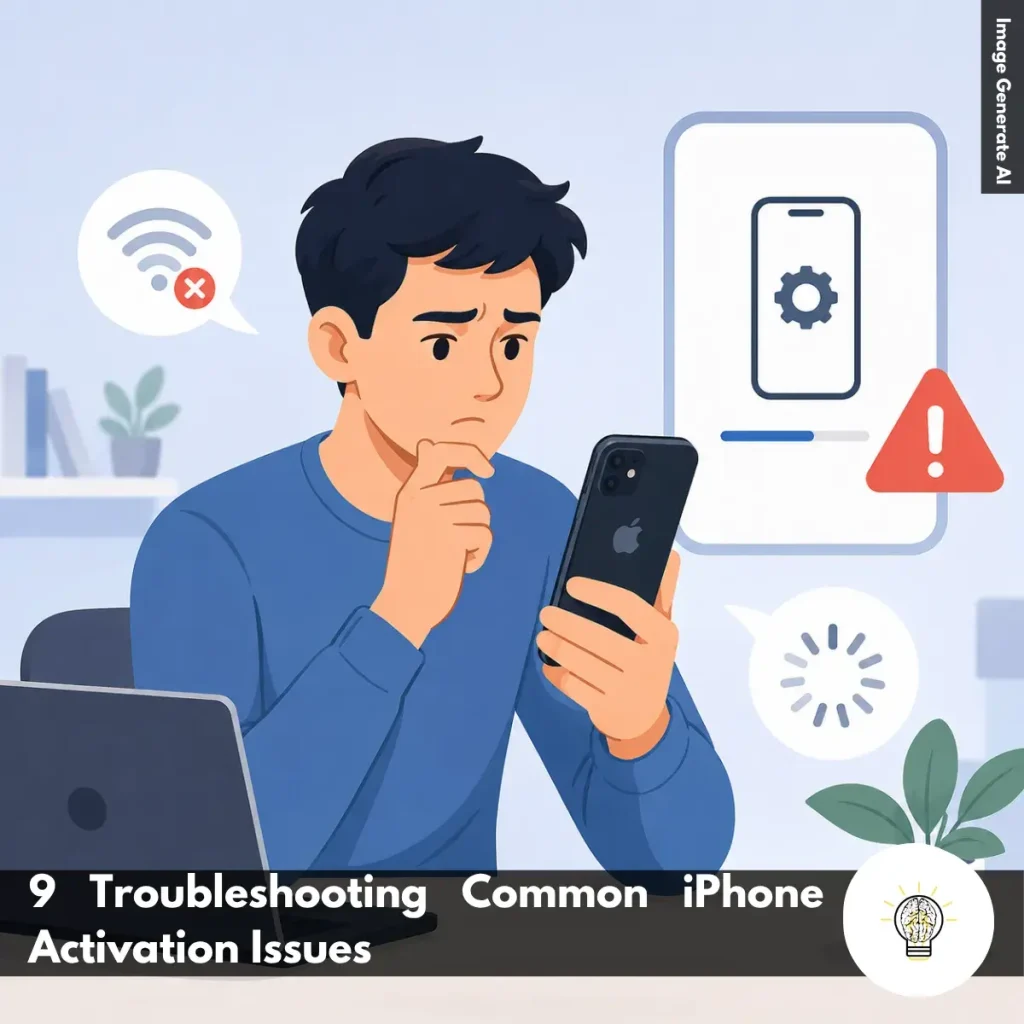
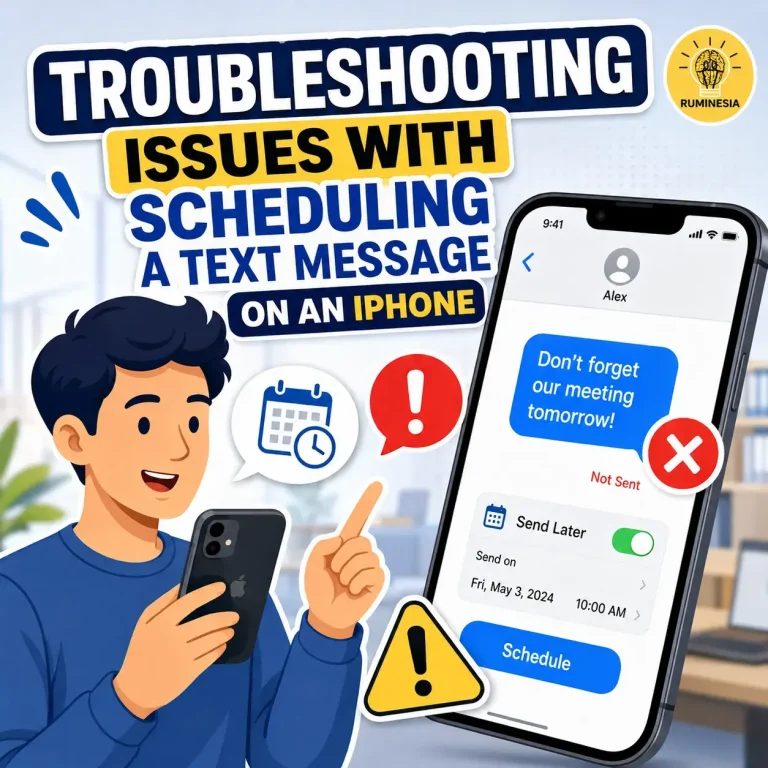
Ruminesia – Have you ever unboxed a new iPhone, gone through the setup process, and suddenly found yourself stuck on an activation screen? It’s one of those moments that can quickly turn excitement into frustration, especially when you’re not sure what’s causing the problem.
The good news is that most activation issues aren’t as serious as they seem. When it comes to troubleshooting common iPhone activation issues, the cause is often something simple, such as a network connection problem, an inactive SIM card, or a temporary issue with Apple’s servers.
Interestingly, many users assume there’s something wrong with the device itself when activation fails. In reality, a few quick checks are often enough to get things working again. Knowing where to look can save you time, stress, and an unnecessary trip to the Apple Store.
Key Highlights
- Most iPhone activation issues stem from network, SIM card, or account problems.
- A simple restart can often fix activation screens that become unresponsive.
- Checking Apple’s server status can save time during widespread activation outages.
- A stable internet connection is essential for successful iPhone activation.
- Activation Lock remains a common obstacle when setting up used iPhones.
- Using a computer can help when wireless activation repeatedly fails.
- Apple Support is often the fastest solution for persistent activation problems.
Running into activation problems can be frustrating, especially when you’re eager to start using your iPhone. The good news is that most activation issues are caused by simple setup, network, or account-related problems. Before assuming something is wrong with the device, work through the troubleshooting steps below. In many cases, a quick adjustment is all it takes to complete the activation process successfully.
If your iPhone displays an activation error message, start by checking the most common causes. During setup, your device needs to connect to Apple’s activation servers, and even a small interruption can prevent the process from completing. Here are a few things to verify:
In practice, many activation errors are temporary and can be resolved simply by restoring a stable connection between your iPhone and Apple’s servers.
Occasionally, the setup process may freeze on the “Hello” screen or become unresponsive during activation. While this can be alarming, it’s often caused by a temporary software glitch.Try the following:
Interestingly, a simple restart can refresh background processes and clear minor issues that may be preventing activation from moving forward.
Sometimes the problem isn’t with your iPhone at all. Apple’s activation servers can occasionally experience outages, maintenance periods, or temporary service disruptions that affect new device activations.
If you’ve already confirmed that your internet connection and SIM card are working properly, consider checking Apple’s System Status page from another device. If an activation-related service is experiencing issues, the best option is usually to wait until Apple restores normal operation.
What many users don’t realize is that even a brand-new iPhone cannot activate if Apple’s servers are temporarily unavailable. In this situation, patience is often the only solution.
A stable internet connection is essential during activation. Without it, your iPhone cannot communicate with Apple’s servers to verify the device and complete setup. Try these steps:
Besides that, slow or inconsistent internet connections can cause activation requests to time out. A stronger connection often resolves the issue immediately.
Depending on your carrier and region, an active SIM card may be required before activation can be completed. If the SIM card isn’t recognized or hasn’t been activated yet, the setup process may fail. Check the following:
In practice, this issue is particularly common with newly issued SIM cards or recently transferred phone numbers.
Software-related issues can sometimes interfere with activation, especially if the setup process was interrupted during a previous update. If you suspect a software problem:
This process refreshes the operating system without erasing your data and can often resolve hidden software issues that block activation.
Activation Lock is a security feature designed to prevent unauthorized access to an iPhone. However, it can also stop the activation process if the device is still linked to another Apple ID.
If you’re asked to enter credentials that don’t belong to you, the device may still be associated with its previous owner. You’ll need the correct Apple ID and password or ask the previous owner to remove the device from their account.
This situation is especially common when purchasing a second-hand iPhone. Before buying a used device, it’s always worth confirming that Activation Lock has been removed to avoid activation problems later.
If activation continues to fail on the device itself, using a computer may provide a more reliable alternative. To activate through a computer:
Interestingly, this method can sometimes bypass network-related issues that occur during wireless setup and help establish a more stable connection to Apple’s servers.
If none of the troubleshooting steps above resolve the issue, it’s time to seek professional assistance. Some activation problems are tied to account verification, carrier restrictions, or hardware-related issues that cannot be fixed through standard troubleshooting.
Before contacting Apple Support, prepare the following information:
The problem is that certain activation issues require deeper diagnostics that only Apple or your carrier can perform. When basic troubleshooting doesn’t work, getting expert assistance is often the fastest path to a solution.
Activating a new iPhone is usually easier than many people expect. With a few things prepared beforehand, you can complete the setup yourself and start using your device within minutes.
Read Also:
If you’re looking for quick answers about iPhone features, settings, and troubleshooting, this FAQ covers the questions users ask most often. These Frequently Asked Questions About iPhone provide practical solutions that are easy to follow.
If your iPhone is frozen and not responding, you can force restart it using the hardware buttons. Press and quickly release the Volume Up button, then press and quickly release the Volume Down button. After that, press and hold the Side button until the Apple logo appears.
This process does not delete your data. It simply forces the device to restart and is often the fastest way to resolve temporary software issues.
Sudden battery drain is usually caused by background app activity, recent iOS updates, high screen brightness, or location services running continuously. In some cases, your iPhone may also be indexing data after a software update. To identify the cause:
The quickest way to free up storage is to review what’s using the most space. You can find this information in Settings > General > iPhone Storage. Useful ways to clear storage include:
The main difference is that iPhone Pro models offer more advanced features. They typically include better cameras, higher-performance chips, premium materials, and ProMotion displays with smoother scrolling.
Standard iPhone models focus on everyday performance and affordability. For most users, they provide excellent performance, while Pro models are designed for photography enthusiasts, gamers, and content creators.
The easiest way is to use iCloud Backup. Once enabled, your iPhone automatically backs up important data when connected to Wi-Fi, charging, and locked. You can also create a local encrypted backup:
Apple’s Quick Start feature makes transferring data simple. Place your new iPhone near your old one and follow the on-screen instructions. Basic steps:
The process moves apps, photos, settings, and most personal data automatically.
Yes, modern iPhones are designed to handle overnight charging safely. Once the battery reaches full charge, the charging system automatically manages power delivery.
One thing many users overlook is the Optimized Battery Charging feature. When enabled, it learns your charging habits and helps reduce long-term battery wear.
You can reduce unwanted calls using the built-in Silence Unknown Callers feature. This automatically sends calls from unknown numbers to voicemail. To enable it:
For additional protection, consider using a trusted caller ID and spam-filtering app.
If your iPhone gets wet, act quickly to minimize potential damage. Turn the device off immediately and gently dry the exterior with a soft cloth. Follow these steps:
Do not place the device in rice, as small particles can enter the ports and cause additional problems.
You can disable location tracking through the Privacy settings. This gives you more control over how apps access your location data. To turn it off:
Alternatively, you can manage location access individually for each app, which is often the most practical option for balancing privacy and convenience.
Sometimes, an iPhone activation issue can feel more serious than it actually is. But in many cases, the problem comes down to something simple, such as a network connection, SIM card setup, or a temporary service interruption. That’s why taking a step-by-step approach is often the fastest way to get back on track.
Interestingly, troubleshooting common iPhone activation issues is often less about finding a complicated fix and more about knowing where to look first. A few basic checks can save time, reduce frustration, and help you avoid unnecessary trips to a service center.
If you’ve dealt with an activation problem before, you probably know how frustrating those first few minutes can be. Have you experienced something similar, or found a solution that worked unexpectedly well? Sharing your experience might help other iPhone users facing the same issue.