Physical Address
304 North Cardinal St.
Dorchester Center, MA 02124
Physical Address
304 North Cardinal St.
Dorchester Center, MA 02124
Your Guide to the Latest in Tech
Your Guide to the Latest in Tech
ruminesia – Sometimes you just need to capture something quickly on your screen—maybe a bug you want to report, a tutorial you’re making, or a moment you want to save—and the last thing you want is to download yet another app. That’s why knowing how to screen record on iPhone 15 without an app is incredibly useful, especially when you’re in a hurry or dealing with limited storage.
Many users don’t realize the iPhone 15 actually comes with a powerful built-in screen recorder that’s just hidden behind a few settings. And if you’ve ever opened the Control Center only to wonder why the record button isn’t there, you’re not alone—it’s one of the most common frustrations for new iPhone users.
The good news is: once it’s set up, recording your screen is literally one swipe and one tap away. No installs, no extra tools, and no complicated steps—just a simple feature that works whenever you need it.
Key Highlights:
- The screen recording tool must be added to the Control Center before you can use it.
- Recording can be started instantly with a quick swipe from the top-right corner.
- Microphone audio can be enabled with a long-press on the recording icon.
- All recordings are automatically saved in the Photos app for easy editing and sharing.
- Notifications and protected content may still affect what appears in your final recording.

You can record your iPhone 15 screen without installing any third-party apps. Follow these simple steps to start capturing your screen quickly and easily.
Before recording, make sure the Screen Recording button is available in the Control Center. Here’s how to set it up:
To begin recording, follow these steps:
If you want to include audio:
If you want your voice narration included in the recording, do this:
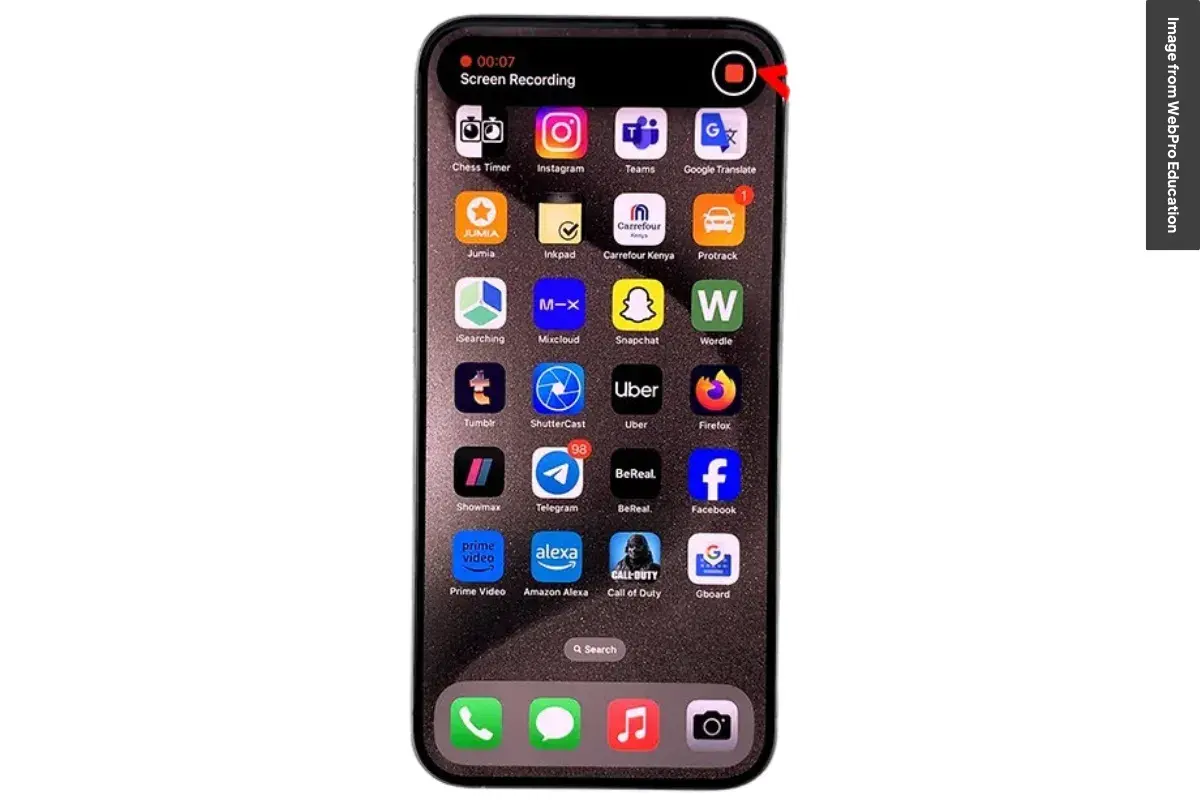
To stop recording, follow these steps:
Read More:
Here is the full FAQ section answering the most common questions about screen recording on iPhone 15.
If the button doesn’t appear, the feature likely hasn’t been enabled. Here’s how to add it:
To record your voice, you need to enable the microphone manually. Here’s how:
A silent recording is usually caused by one of the following:
No, the iPhone 15 does not allow recording audio from calls or FaceTime. Apple restricts this for privacy and legal reasons, so the system automatically mutes audio when recording during a call.
All screen recordings are automatically saved in the Photos app. You’ll find them in:
Streaming apps use DRM protection, which blocks captured visuals. That’s why recording content from apps like Netflix or Disney+ results in a black screen.
You can stop recording in two ways:
There’s no system-imposed time limit. You can record as long as your storage and device temperature remain safe. If the phone overheats or storage runs out, the recording may stop automatically.
Yes, any notifications that appear while recording will be captured. Turn on Do Not Disturb or Focus Mode if you want a clean, distraction-free recording.
Yes, you can perform basic edits directly in the Photos app. You can:
For advanced editing, you can export the video to a third-party editing app.
Learning how to screen record on iPhone 15 without an app is really just about knowing where the feature lives and how to activate it. Once the Screen Recording toggle is added to your Control Center, everything else becomes quick, intuitive, and always within reach.
The biggest win is convenience—you don’t need external tools, extra downloads, or complicated setups. Whether you’re creating a quick tutorial or saving something important on your screen, the built-in recorder gets it done with just a swipe and a tap.
If you haven’t tried it yet, give the steps a go and see how much easier it makes your daily workflow. And if you’ve got your own tips or experiences using screen recording on the iPhone 15, feel free to share them.