Physical Address
304 North Cardinal St.
Dorchester Center, MA 02124
Physical Address
304 North Cardinal St.
Dorchester Center, MA 02124

Your Guide to the Latest in Tech
Your Guide to the Latest in Tech
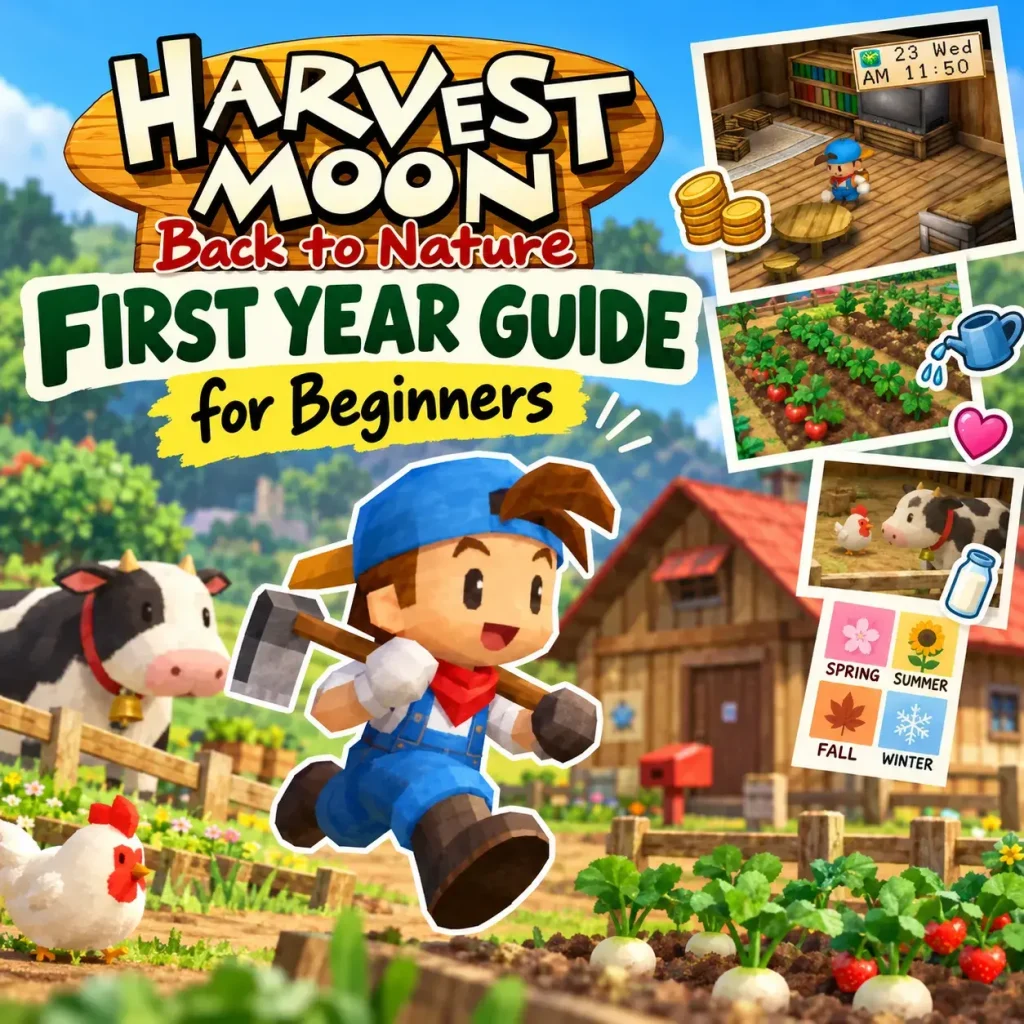
ruminesia – Have you ever started a new Harvest Moon: Back to Nature save feeling like you should be able to handle everything, only to realize that money, stamina, farm space, and time disappear surprisingly fast? The first year can feel less like building your dream farm and more like figuring out which decisions are actually worth making.
That is where a Harvest Moon Back to Nature First Year Guide can be useful—not as another day-by-day checklist, but as a way to understand how your choices connect. Instead of trying to do everything at once, the smarter approach is to know when to invest, when to expand, and which improvements can make the rest of the year easier.
When you think about it, a successful first year is not necessarily the one where you accomplish the most. It is the one that leaves you with a stronger, more efficient farm and enough flexibility to decide what you want to focus on next.
Key Highlights
- Year 1 success depends more on smart priorities than completing every possible task.
- Manage money, stamina, time, and farm space as limited resources throughout the year.
- Invest early in upgrades that reduce daily effort and improve long-term efficiency.
- Build multiple income sources instead of relying entirely on crops.
- Use seasonal priorities to strengthen your farm without forcing unnecessary expansion.
- Enter Year 2 with a more efficient farm, stronger income, and greater flexibility.
Year 1 works best when you stop thinking about every day as an isolated checklist. Instead, look at the bigger picture: where your money comes from, where your stamina goes, what currently slows you down, and which upgrades can make the next season easier.
Your first year is not about making the farm look impressive. It is about creating enough income to support your next decisions. Money gives you flexibility: you can buy seeds, improve your tools, purchase animals, expand your farm, and handle larger investments without constantly starting from zero.
That does not mean you should ignore the farm itself. The better approach is to improve it gradually as your income grows. When deciding where to spend your early money, think about what each purchase actually gives you in return.
| Investment | Main Benefit | When It Makes Sense |
|---|---|---|
| Crops | Seasonal income | When you have enough stamina to maintain them |
| Livestock | Recurring income | When you can consistently care for animals |
| Tool upgrades | Saves time and stamina | When a tool becomes a daily bottleneck |
| Farm expansion | More production capacity | When your current setup is already manageable |
The important part is not spending money as quickly as possible. Spend it when the purchase removes a limitation that is genuinely slowing your farm down.
Money is not the only resource that limits your progress. Your stamina determines how much useful work you can actually accomplish during a day, which makes it just as important when planning your farm.
A common mistake is trying to squeeze every possible task into every day. You may be able to clear more land, water more crops, mine longer, or gather more items, but exhausting yourself on low-value work can leave you with no energy for activities that generate income or improve your progression.
As your farm grows, efficiency becomes increasingly important. Tool upgrades, better organization, and help from the Harvest Sprites are valuable partly because they reduce the amount of stamina you need to spend on repetitive work.
Once you have established a basic routine, pay attention to whatever keeps slowing you down. That problem is your current bottleneck.
Maybe watering crops takes too much of your morning. Maybe clearing the farm consumes too much stamina. Maybe you have enough money to expand your livestock but not enough time to take care of everything. Instead of upgrading things randomly, solve the problem that is currently preventing you from doing more.
This approach also keeps your farm from becoming unnecessarily complicated. You do not need every upgrade immediately. You need the upgrades that solve the problems you are actually experiencing, and those priorities will naturally change as your farm develops.
Not every useful purchase needs to produce an immediate profit. Some of the best investments are the ones that make future work easier.
A tool upgrade, livestock purchase, farm expansion, or other improvement can be worthwhile when it reduces repetitive effort or gives you more ways to generate income. The important part is understanding the trade-off before spending most of your savings.
Before making a major purchase, consider what you will still need afterward. A good investment should improve your farm without leaving you unable to afford the seeds, animals, supplies, or upgrades that your next stage of progression requires.
Crops are an important part of the early economy, but they do not need to be your only source of income. Mining, fishing, livestock, foraging, and other activities can fill the gaps between harvests and give you more flexibility.
Having several income sources becomes particularly useful when one activity slows down. If your crops are between harvests, for example, mining or fishing can still provide something productive to do. Livestock can also provide recurring income that is not tied to a particular growing season.
You do not need to maximize every activity. The goal is simply to avoid building a farm economy that depends entirely on one source of money.
Once your basic economy is working, the next step is making the farm easier to operate. This is where tools, Harvest Sprites, and farm expansion become more important.
Tool upgrades are most valuable when they improve something you already do frequently. There is little reason to prioritize an upgrade simply because it is available if the tool itself is not creating a meaningful limitation.
Think about your normal routine. Which tool consumes the most stamina? Which task takes the longest? Which activity regularly prevents you from completing something else? Those answers can help determine which upgrade will actually improve your daily efficiency.
Timing also matters because tools are unavailable while they are being upgraded. Plan important upgrades around your farm schedule rather than upgrading everything immediately. A stronger tool is useful, but not if losing access to it disrupts a critical part of your current routine.
The Harvest Sprites become increasingly valuable once your farm starts producing more work than you can comfortably handle yourself. Their role is not simply to make individual tasks easier. More importantly, they allow your farm to grow without requiring you to personally handle every repetitive job.
This makes the Harvest Sprites part of your long-term scaling strategy. A larger farm can produce more income, but it also creates more maintenance. Having reliable help allows you to increase production while keeping enough time available for mining, fishing, relationships, and other activities.
Building relationships with the Harvest Sprites early therefore has a practical purpose. You are gradually creating a support system that can help your farm handle more work later in the year.
Expansion is tempting because a bigger farm usually means more opportunities. But more space also means more responsibilities. If your current setup already consumes most of your stamina and time, expanding immediately can make the problem worse.
A better approach is to expand when your existing routine is under control. Your income should be able to support the additional investment, your tools should be capable of handling the extra work, and you should have enough time or assistance to maintain the larger operation.
Think of expansion as part of a repeating progression cycle: improve efficiency, expand production, improve efficiency again. That approach is more sustainable than constantly making the farm bigger and hoping the extra production will solve everything.
Each season gives you a different opportunity to strengthen the farm. Instead of treating Spring, Summer, Fall, and Winter as four separate walkthroughs, think of them as stages in the same progression plan.
Spring is where you establish the basic structure of your first-year economy. Crops provide an early source of income, while mining, fishing, and foraging can fill the gaps between harvests.
The most important decision is not planting as many crops as possible. It is finding a production level that gives you useful income without consuming all of your available stamina. A smaller field that you can maintain consistently is often more useful than an oversized field that leaves you exhausted every morning.
Spring is also the right time to become familiar with Mineral Town, begin building relationships, and start collecting the resources needed for future tool upgrades. By the time Summer arrives, you want a routine that feels dependable rather than rushed.
Summer is where the economic foundation from Spring can begin turning into a larger operation. More profitable crops become available, your tools should be improving, and the Harvest Sprites can increasingly help with farm work.
This is also where overexpansion becomes a real risk. More crops and animals mean more potential income, but they also increase the amount of daily work required. The objective is to increase your output without allowing the additional responsibilities to consume every part of your day.
Use Summer to identify what your farm can comfortably handle. If you can maintain your crops, livestock, relationships, and resource gathering without constantly running out of stamina, you are ready to consider another step up.
Fall is an opportunity to turn the progress you made during the first half of the year into financial stability. By now, you should have a better understanding of which activities are worth your time and which investments have made your routine easier.
Rather than spending every coin on additional production, start thinking about what will benefit you beyond the current season. Stronger tools, livestock, farm improvements, and savings can all make the transition into Winter and Year 2 smoother.
Fall is therefore less about proving how much money you can make and more about deciding what you want that money to accomplish. A profitable season is useful, but a profitable season that leaves you with a stronger farm is even better.
Winter changes the rhythm of the game because outdoor crop production is no longer the main focus. Instead of treating this as downtime, use the additional freedom to work on areas that are harder to prioritize during the growing seasons.
The Winter Mine becomes an important destination for gathering valuable resources and progressing toward stronger tools. You also have more room in your schedule for relationships, fishing, collecting Power Berries, cooking, and other activities that may have been pushed aside during busier seasons.
Think of Winter as your maintenance and preparation season. The more weaknesses you address before Spring returns, the easier it becomes to start Year 2 with better tools, stronger resources, and a more efficient routine.
By this point, it helps to think of the different systems in the game as supporting one another rather than competing for your attention. The strongest first-year strategy is usually the one that keeps these areas moving forward together.
Your farm does not need to produce maximum profits every single day. It needs to produce enough money consistently to fund the next stage of progression.
A balanced first-year income can come from several activities:
The point is not to turn every activity into a full-time job. Instead, use different income sources to cover the periods when your main source is less productive.
The value of an upgrade is not always visible in its immediate profit. A tool that saves time or stamina can create opportunities for additional mining, fishing, farming, or relationship building over many days.
When deciding what to improve next, ask a simple question: Will this make several future days easier? If the answer is yes, the investment may be more valuable than something that produces a one-time benefit.
This way of thinking also helps prevent unnecessary spending. You are prioritizing improvements that continue paying you back through better efficiency.
Friendships are part of the game’s progression, but they do not need to become another exhausting checklist. The most practical approach is to build relationships naturally around the routes and activities you already perform.
When you are visiting town, talking to villagers or giving gifts can become part of the same trip. The Harvest Sprites are especially useful to prioritize because their friendship can directly support your farm’s workload.
The goal is consistency rather than perfection. Small interactions repeated over time are much easier to maintain than trying to complete a large number of relationship tasks all at once.
A successful Year 1 does not necessarily mean completing every objective available to you. It means finishing the year with a farm that is significantly easier to manage than it was when you started.
By the end of the year, you should ideally have more than one dependable source of income. Crops may still be your biggest earner, but livestock, mining, fishing, and other activities should give you alternatives when circumstances change.
This makes your farm more resilient. You are no longer completely dependent on the next harvest or a single profitable season.
You should also notice a clear difference between the beginning and end of the year. Tasks that once consumed most of your stamina should become easier because of better tools, improved organization, or assistance from the Harvest Sprites.
Your goal is not simply to have a larger farm. It is to have a farm that produces more while requiring less effort from you personally.
Perhaps the clearest sign of a successful first year is having choices. You should have enough experience and resources to decide what you want to focus on next instead of spending the beginning of Year 2 trying to recover from inefficient decisions.
That might mean expanding your livestock, improving your house, strengthening relationships, collecting more rare resources, or simply making the farm more productive. Whatever direction you choose, the foundation you built during Year 1 should make that decision easier.
The first year is therefore less about reaching a perfect destination and more about building momentum. Once your farm can generate money consistently, handle its workload efficiently, and support your future plans, the rest of Harvest Moon: Back to Nature becomes much easier to manage.
Read Also:
If you still have questions after following this Harvest Moon: Back to Nature walkthrough, you’re not alone. Below are answers to some of the most common questions players have about progression, farming, tool upgrades, marriage, and completing the game.
Whether you’re just starting your first Spring or preparing for the Mayor’s final evaluation, these Frequently Asked Questions about Harvest Moon: Back to Nature should help clarify the mechanics and guide you toward a smoother farming experience.
Technically, yes—but it isn’t the way most players experience the game.
Some experienced players have created highly optimized one-year challenge runs that prioritize mining, livestock management, and aggressive profit strategies. These routes often require careful planning, precise daily schedules, and extensive knowledge of hidden mechanics.
For most players, however, there’s no reason to rush.
The game is designed around a three-year evaluation period, giving you plenty of time to expand your farm, get married, upgrade your tools, and enjoy life in Mineral Town at your own pace.
Unless you’re attempting a personal challenge, focusing on steady progress usually leads to a far more enjoyable experience.
If your goal is maximizing profit, these crops offer the best overall value during Year 1.
| Season | Best Crop | Why It Works |
|---|---|---|
| Spring | Turnip | Fast growth and quick cash flow. |
| Summer | Pineapple | Extremely profitable with multiple harvests. |
| Fall | Sweet Potato | The highest long-term income in the game. |
| Winter | None | Focus on mining instead of farming. |
While other crops certainly have their uses, these choices provide the strongest balance between investment and profit for most players.
Although every tool eventually becomes important, some upgrades provide much greater value during the early game.
A good priority looks like this:
The Watering Can should almost always come first because watering crops is your most repetitive daily task.
Just remember to upgrade it before a rainy day whenever possible.
The answer is both.
Many beginners think they need to choose one activity, but Harvest Moon: Back to Nature rewards players who balance multiple sources of income.
During Spring and Summer, farming should remain your primary focus while mining supports tool upgrades and provides additional income.
During Winter, that balance naturally shifts. Since outdoor crops are unavailable, mining becomes one of the most productive activities you can do each day.
Rather than replacing farming, mining complements it throughout the entire game.
No.
Marriage is one of the game’s biggest milestones, but it isn’t required to pass the Mayor’s final evaluation.
That said, many players choose to get married because it unlocks additional events and makes the farm feel more complete.
If you’re already upgrading your house and building friendships, reaching marriage naturally becomes one of the most rewarding goals during Year 2.
Yes.
Passing the Mayor’s evaluation doesn’t end your adventure.
Instead, you’re allowed to continue playing indefinitely.
This gives you unlimited time to complete unfinished goals, collect every recipe, fully upgrade your tools, raise more animals, or simply continue enjoying life in Mineral Town without worrying about another deadline.
For many players, the real fun actually begins after the evaluation, when the pressure is gone and the farm they’ve spent years building can finally be enjoyed at its fullest.
During your first Spring, focus on growing Turnips, foraging around Mother’s Hill, mining for ores, and buying your first Chicken as soon as possible.
These activities create multiple sources of income without requiring large investments. Instead of relying on crops alone, combining farming, mining, fishing, and foraging helps you earn money much more consistently throughout the early game.
The best way to increase your maximum stamina is by collecting Power Berries.
Each Power Berry permanently expands your stamina bar, allowing you to work longer before becoming exhausted. Some are hidden in mines, while others are obtained through fishing or special events.
Finding them early makes farming, mining, and logging noticeably easier for the rest of the game.
Absolutely.
The Harvest Sprites are among the most valuable helpers in the game. Once you’ve built enough friendship with them, they can water crops, harvest fields, and care for animals on your behalf.
Giving them Flour regularly during your first Spring is one of the smartest long-term investments you can make because it saves countless hours of farm work later.
Your first year should focus on building a strong foundation rather than chasing perfection.
Prioritize fast-growing crops, upgrade your tools gradually, purchase your first Chicken, establish a daily mining routine, build friendships with villagers, and start befriending the Harvest Sprites.
By the end of Year 1, your goal is to have a profitable, well-organized farm that makes Year 2 much easier and prepares you for marriage and the Mayor’s final evaluation.
A good first year in Harvest Moon: Back to Nature is not really about doing everything as quickly as possible. It is about learning which choices make your farm easier to manage, which investments are worth making, and when it is better to leave some things for later. Once you see the year that way, progress feels less like a checklist and more like building a foundation for whatever kind of farm you want next.
When you think about it, that is part of what makes the first year meaningful. You are not just growing crops or earning money; you are gradually learning how to work with the time, resources, and opportunities the game gives you. A Harvest Moon Back to Nature First Year Guide can point you toward those decisions, but the best approach is still the one that fits how you want to play.
And that is probably the most useful lesson to take into Year 2: you do not need a perfect first year, just a stronger starting point for the next one. What was the decision that made the biggest difference in your first year of Harvest Moon: Back to Nature?