Physical Address
304 North Cardinal St.
Dorchester Center, MA 02124
Physical Address
304 North Cardinal St.
Dorchester Center, MA 02124
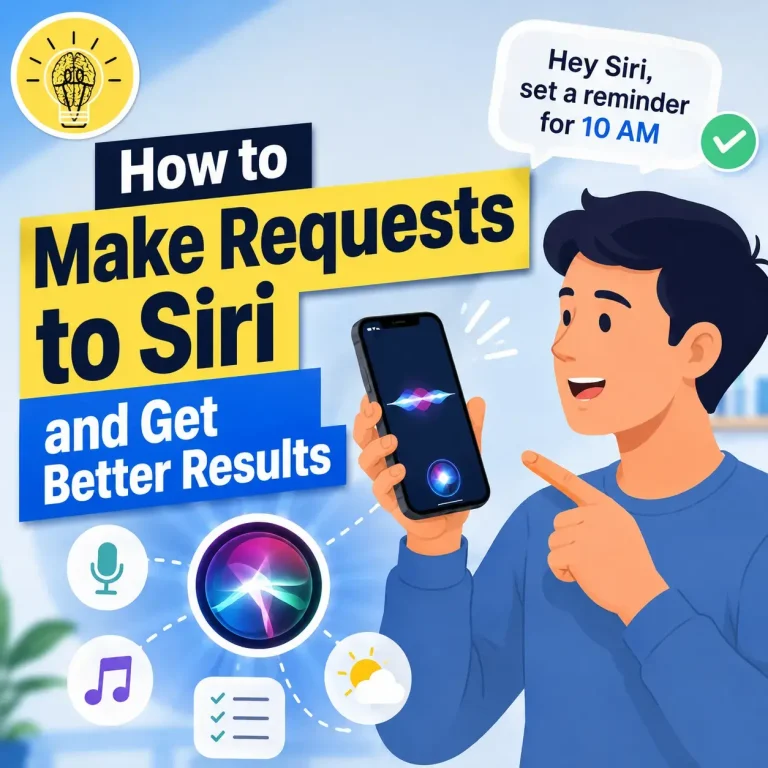
Your Guide to the Latest in Tech
Your Guide to the Latest in Tech
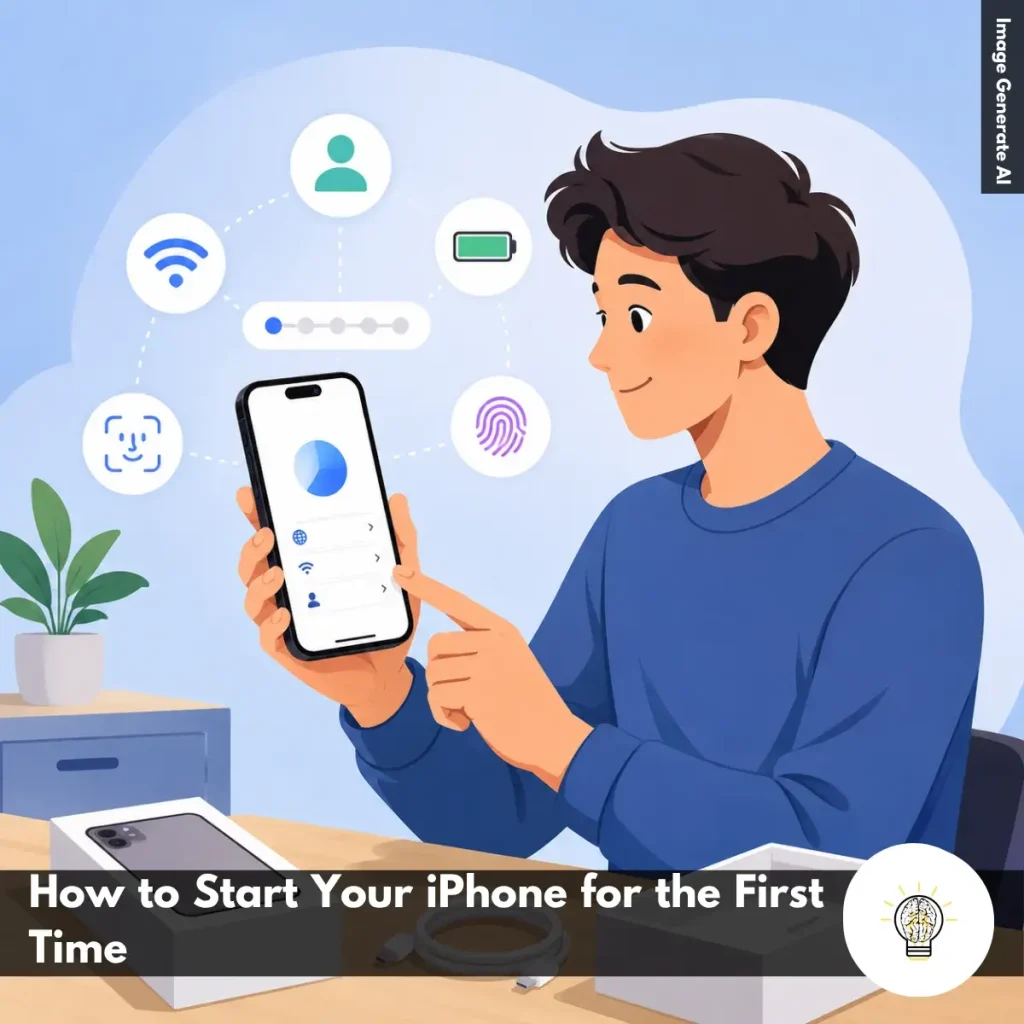
Ruminesia – Something is exciting about holding a new iPhone for the first time. Whether you’ve just unboxed a brand-new device or upgraded from an older model, that moment often comes with a simple question: where do you start?
If you’re searching for How to Start Your iPhone for the First Time, you’re not alone. Many new users worry about missing an important step, entering the wrong settings, or getting stuck during the setup process. The good news is that Apple has made getting started surprisingly straightforward.
Interestingly, the setup itself usually takes only a few minutes. The real difference comes from knowing what to prepare beforehand and understanding each step as it appears. With a little guidance, you can have your iPhone up and running smoothly without any unnecessary confusion.
Key Highlights
- Charging your iPhone first helps prevent interruptions during the setup process.
- Having your Apple ID ready makes activation faster and more convenient.
- Turning on an iPhone only requires holding the Power button briefly.
- A stable Wi-Fi connection is essential for activation and updates.
- Face ID or Touch ID adds security but can be configured later.
- A strong passcode remains an important backup for device protection.
Before diving into How to Start Your iPhone for the First Time, it’s helpful to understand that the process is designed to be simple and beginner-friendly.
Whether you’ve purchased a brand-new iPhone or received a replacement device, Apple provides step-by-step guidance that makes getting started surprisingly easy.
However, taking a few moments to prepare beforehand can help you avoid common setup delays and ensure everything goes smoothly from the moment you power on your device.
Before learning how to Start Your iPhone for the First Time, it’s a good idea to prepare a few essentials. Taking a few minutes to get everything ready can make the setup process faster, smoother, and far less frustrating—especially if this is your first iPhone.
If you’ve just unboxed a new iPhone, connect it to a charger and let it charge for around 15–30 minutes. While many devices arrive with some battery life, starting with a low charge can interrupt the setup process when you least expect it.
Make sure you have your iPhone and the included charging cable. Depending on your region and model, a power adapter may not be included, so it’s worth having a compatible charger ready. If you plan to use accessories such as a protective case or screen protector, keeping them nearby can save time once setup is complete.
Your Apple ID is the gateway to essential Apple services, including the App Store, iCloud, FaceTime, and iMessage. If you already have one, confirm that you know the correct email address and password. If not, you can create a free Apple ID during setup or through Apple’s official website beforehand.
A little preparation goes a long way. With these basics in place, the rest of the setup process becomes much more straightforward.
Now that everything is ready, the next step in How to Start Your iPhone for the First Time is simply turning the device on. Fortunately, Apple keeps this process straightforward, and it usually takes less than a minute.
The location of the Power button depends on your iPhone model. On most modern iPhones, it’s located on the right side of the device, while some older models place it on the top edge. Press and hold the button until the Apple logo appears, then release it.
After the Apple logo appears, your iPhone will begin booting up. This usually takes just a few seconds. When you see the familiar “Hello” screen displayed in multiple languages, your iPhone is powered on and ready for setup.
In practice, this is often the moment new iPhone owners realize how simple the startup process really is. There’s no complicated installation required—just power it on and follow the on-screen instructions.
After powering on your device, the final stage of How to Start Your iPhone for the First Time is completing the initial setup. Apple guides you through each step on-screen, making the process easy even for first-time users.
Select your preferred language and country or region. These settings affect keyboard layouts, date and time formats, currency displays, and other regional preferences throughout the device.
Choose a Wi-Fi network from the available list and enter the password if required. A stable internet connection is important because your iPhone needs to activate with Apple and may download essential updates during setup.
Enter your Apple ID credentials when prompted. If you don’t have an account yet, tap Create a Free Apple ID and follow the instructions. Your Apple ID connects your device to services such as iCloud, the App Store, Apple Music, and Find My iPhone.
Depending on your iPhone model, you’ll be asked to register your face or fingerprint for biometric security. Newer iPhones use Face ID, while models such as the iPhone SE use Touch ID. If you prefer, you can skip this step and configure it later through Settings.
Choose a six-digit passcode to protect your device. You can also switch to a four-digit code or create a custom alphanumeric password if you prefer. What many users don’t realize is that this passcode remains important even when Face ID or Touch ID is enabled, since it serves as a backup method for unlocking your device and verifying sensitive actions.
Once these steps are complete, your iPhone will finish the setup process and take you to the Home Screen. From there, you can start downloading apps, customizing settings, and exploring everything your new iPhone has to offer.
Starting with a new iPhone is easier when you know a few essentials. These tips and tricks start iPhone for the first time can help you set up your device faster and avoid common beginner mistakes.
Read Also:
If you’re looking for quick answers about iPhone features, settings, and troubleshooting, this FAQ covers the questions users ask most often. These Frequently Asked Questions About iPhone provide practical solutions that are easy to follow.
If your iPhone is frozen and not responding, you can force restart it using the hardware buttons. Press and quickly release the Volume Up button, then press and quickly release the Volume Down button. After that, press and hold the Side button until the Apple logo appears.
This process does not delete your data. It simply forces the device to restart and is often the fastest way to resolve temporary software issues.
Sudden battery drain is usually caused by background app activity, recent iOS updates, high screen brightness, or location services running continuously. In some cases, your iPhone may also be indexing data after a software update. To identify the cause:
The quickest way to free up storage is to review what’s using the most space. You can find this information in Settings > General > iPhone Storage. Useful ways to clear storage include:
The main difference is that iPhone Pro models offer more advanced features. They typically include better cameras, higher-performance chips, premium materials, and ProMotion displays with smoother scrolling.
Standard iPhone models focus on everyday performance and affordability. For most users, they provide excellent performance, while Pro models are designed for photography enthusiasts, gamers, and content creators.
The easiest way is to use iCloud Backup. Once enabled, your iPhone automatically backs up important data when connected to Wi-Fi, charging, and locked. You can also create a local encrypted backup:
Apple’s Quick Start feature makes transferring data simple. Place your new iPhone near your old one and follow the on-screen instructions. Basic steps:
The process moves apps, photos, settings, and most personal data automatically.
Yes, modern iPhones are designed to handle overnight charging safely. Once the battery reaches full charge, the charging system automatically manages power delivery.
One thing many users overlook is the Optimized Battery Charging feature. When enabled, it learns your charging habits and helps reduce long-term battery wear.
You can reduce unwanted calls using the built-in Silence Unknown Callers feature. This automatically sends calls from unknown numbers to voicemail. To enable it:
For additional protection, consider using a trusted caller ID and spam-filtering app.
If your iPhone gets wet, act quickly to minimize potential damage. Turn the device off immediately and gently dry the exterior with a soft cloth. Follow these steps:
Do not place the device in rice, as small particles can enter the ports and cause additional problems.
You can disable location tracking through the Privacy settings. This gives you more control over how apps access your location data. To turn it off:
Alternatively, you can manage location access individually for each app, which is often the most practical option for balancing privacy and convenience.
Getting started with a new iPhone is often much simpler than many people expect. Once you understand How to Start Your iPhone for the First Time, the process becomes less about following technical steps and more about setting up a device that fits naturally into your daily routine.
Interestingly, most setup issues happen not because the process is complicated, but because small details are overlooked. Taking a few minutes to charge your device, prepare your Apple ID, and follow the on-screen instructions can make the entire experience smoother from the very beginning.
Your first few moments with an iPhone are really the start of everything you’ll do with it later—from staying connected with family and friends to managing work, photos, and everyday tasks. Have you recently set up a new iPhone? We’d love to hear about your experience and any tips that made the process easier.