Physical Address
304 North Cardinal St.
Dorchester Center, MA 02124
Physical Address
304 North Cardinal St.
Dorchester Center, MA 02124
Your Guide to the Latest in Tech
Your Guide to the Latest in Tech
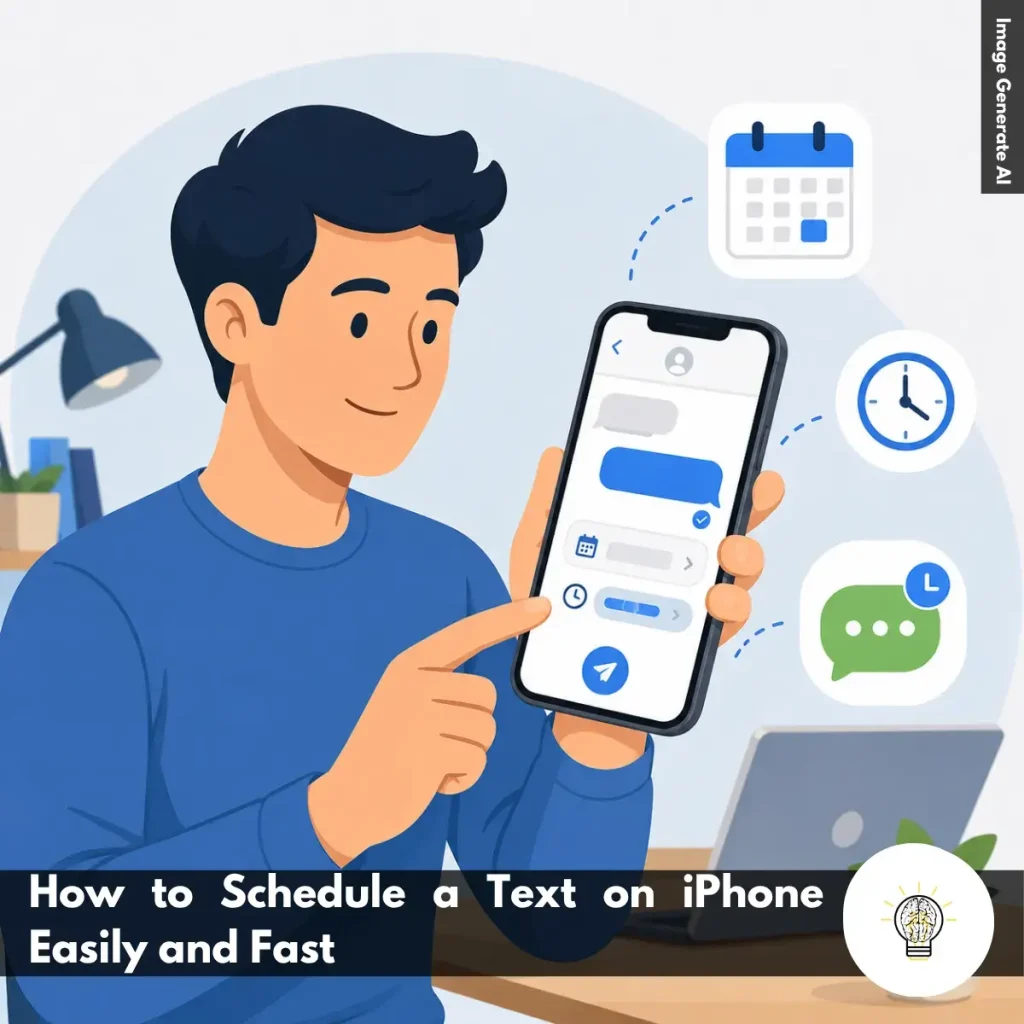
Ruminesia – Have you ever thought of an important message at the wrong time? Maybe it’s a birthday greeting, a meeting reminder, or a follow-up text that needs to be sent later. That’s why many users search for how to schedule a Text on iPhone.
Interestingly, scheduling messages isn’t just about convenience. It can also help you communicate more thoughtfully, ensuring your text arrives when it’s most relevant instead of whenever you happen to remember it.
The good news is that Apple includes a built-in way to schedule messages. Once you know where to find it, the process is quick and surprisingly straightforward.
Key Highlights
- iPhone’s Send Later feature lets messages send automatically at a chosen time.
- Scheduling texts helps prevent forgotten reminders, greetings, and important follow-ups.
- Always review your message carefully before scheduling automatic delivery.
- The Send Later option is available through the “+” menu in Messages.
- Double-check the selected date and time before confirming the schedule.
- Scheduled texts make communication more organized and intentional with minimal effort.
Before scheduling a message, it’s a good idea to check a few basics first. These quick requirements can help ensure the Send Later feature works without any surprises.
If you frequently send reminders, birthday wishes, work updates, or follow-up messages, learning how to schedule a Text on iPhone can make communication much easier. Instead of trying to remember the right moment to send a message, you can prepare it in advance and let your iPhone handle the delivery automatically.
Apple’s Send Later feature is designed to help users stay organized without relying on third-party apps. Once you understand where the feature is located and how it works, scheduling messages becomes a simple part of your daily workflow.
The first step is opening the Messages app on your iPhone. Since scheduled texts are created directly inside Apple’s messaging platform, this is where the entire process begins.
Once you’re in the app, browse your existing conversations and select the person you want to message. If you’re planning to send a text to someone who isn’t already in your message list, tap the compose button in the top-right corner to start a new conversation.
Although this step sounds simple, it’s worth taking a moment to verify that you’ve selected the correct recipient before continuing. This becomes especially important when you’re scheduling work-related updates, appointment reminders, or messages that contain personal information.
In practice, spending a few extra seconds checking the conversation can help prevent mistakes that might not be noticed until after the message has already been delivered.
After opening the conversation, type your message as you normally would. You can write anything from a short reminder to a detailed update, depending on what you need to communicate.
Before moving on, take a moment to review the content carefully. Unlike a message you’re sending immediately, a scheduled text won’t ask you for confirmation when the delivery time arrives. Once the schedule is set, your iPhone will automatically send the message at the selected date and time.
What many users don’t realize is that scheduled messages are often prepared hours or even days in advance. Because of that, it’s a good idea to double-check:
A quick review now can save you from sending outdated information or awkward mistakes later.
Once your message is ready, look for the “+” icon positioned beside the text field. Tapping this button opens a menu that contains several additional messaging tools and features available within the Messages app.
From the list of options, select Send Later. This feature allows you to schedule exactly when your message should be delivered rather than sending it immediately.
Interestingly, many iPhone users aren’t aware that this option exists because it isn’t displayed directly next to the send button. Instead, Apple places it inside the expanded menu alongside other messaging tools.
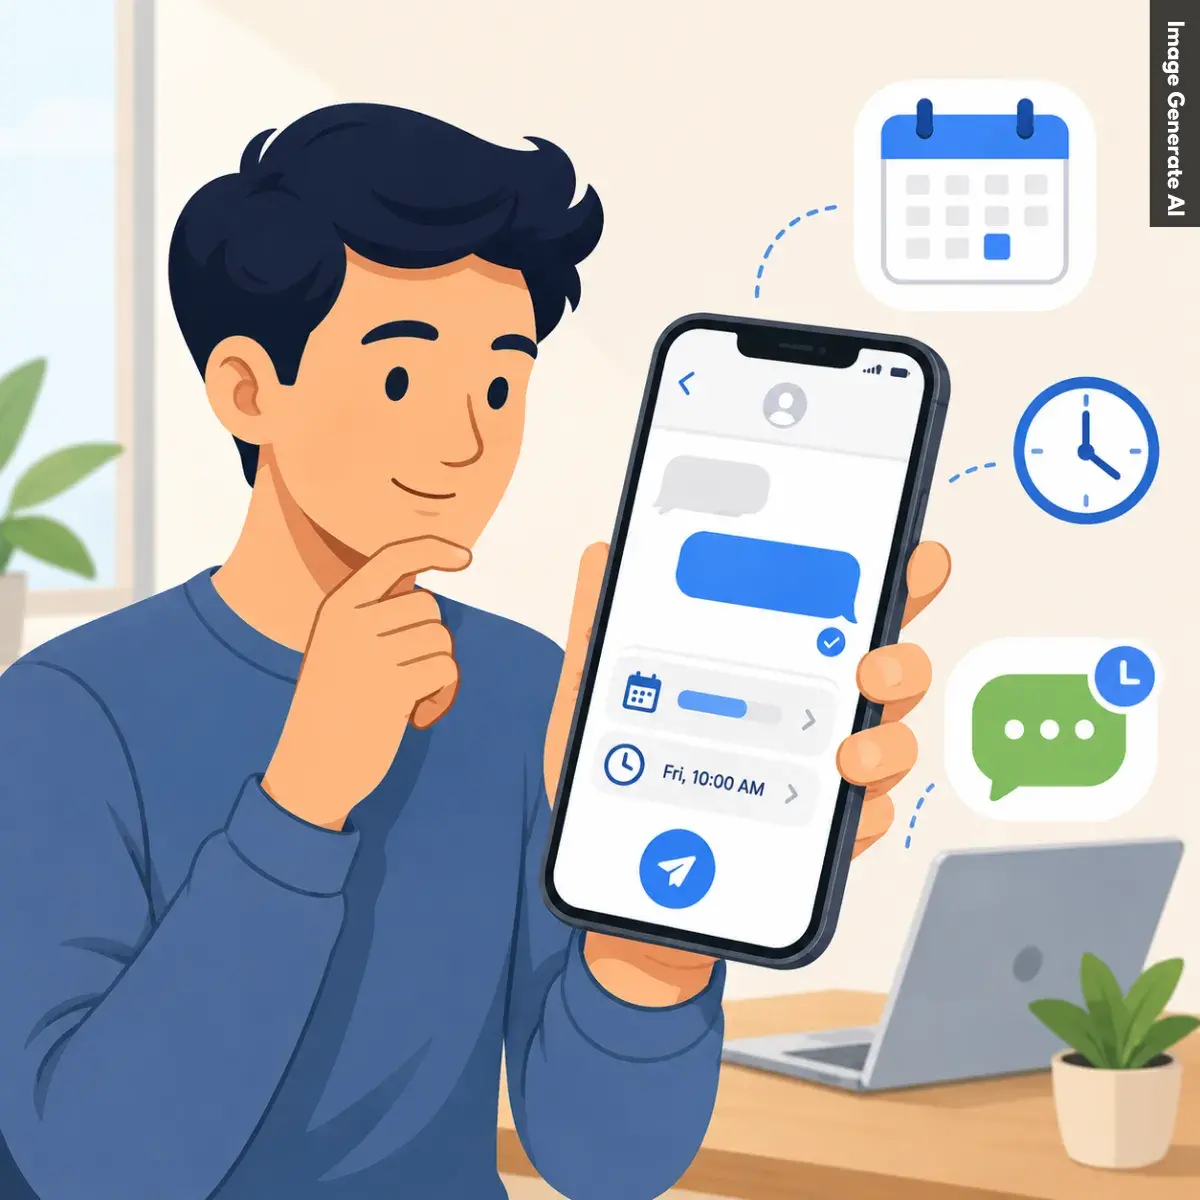
After selecting Send Later, the app will switch to the scheduling interface, where you can choose a future delivery date and time. This is the point where your message changes from a regular text into a scheduled one.
After entering the Send Later screen, you’ll see a suggested date and time for delivery. While you can keep the default setting, most users prefer to customize it based on their specific needs.
Tap the displayed date and time to open the scheduling controls. From there, choose the exact day and hour you want your message to be sent.
This flexibility can be useful in a variety of situations, such as:
Before tapping Send, take one final look at both the message content and the scheduled delivery details. The problem is that a small scheduling mistake—such as selecting the wrong day or hour—can easily cause the message to arrive earlier or later than intended.
Once everything looks correct, tap Send to confirm.
Your iPhone will save the scheduled message and automatically deliver it when the selected time arrives. From there, you can continue using your device normally while the message waits in the background, helping you stay organized without needing to remember every conversation manually.
Managing scheduled texts on an iPhone is easy once you know where to find your scheduled messages. Whether you need to make changes, adjust the timing, or cancel a text, Apple gives you full control before it’s sent.
Scheduling messages is a simple feature, but a few smart habits can make it much more useful. These Schedule a Text on iPhone Tips will help you stay organized, avoid common mistakes, and get the most out of scheduled messaging.
Scheduled messaging is one of the most convenient additions to the iPhone experience, but it isn’t always flawless. Missing send times, unavailable scheduling options, or unsent messages can leave users wondering what went wrong. Fortunately, troubleshooting Issues with scheduling a Text Message on an iPhone is often easier than it seems once you know which settings to check.
Read Also:
If you’re looking for quick answers about iPhone features, settings, and troubleshooting, this FAQ covers the questions users ask most often. These Frequently Asked Questions About iPhone provide practical solutions that are easy to follow.
If your iPhone is frozen and not responding, you can force restart it using the hardware buttons. Press and quickly release the Volume Up button, then press and quickly release the Volume Down button. After that, press and hold the Side button until the Apple logo appears.
This process does not delete your data. It simply forces the device to restart and is often the fastest way to resolve temporary software issues.
Sudden battery drain is usually caused by background app activity, recent iOS updates, high screen brightness, or location services running continuously. In some cases, your iPhone may also be indexing data after a software update. To identify the cause:
The quickest way to free up storage is to review what’s using the most space. You can find this information in Settings > General > iPhone Storage. Useful ways to clear storage include:
The main difference is that iPhone Pro models offer more advanced features. They typically include better cameras, higher-performance chips, premium materials, and ProMotion displays with smoother scrolling.
Standard iPhone models focus on everyday performance and affordability. For most users, they provide excellent performance, while Pro models are designed for photography enthusiasts, gamers, and content creators.
The easiest way is to use iCloud Backup. Once enabled, your iPhone automatically backs up important data when connected to Wi-Fi, charging, and locked. You can also create a local encrypted backup:
Apple’s Quick Start feature makes transferring data simple. Place your new iPhone near your old one and follow the on-screen instructions. Basic steps:
The process moves apps, photos, settings, and most personal data automatically.
Yes, modern iPhones are designed to handle overnight charging safely. Once the battery reaches full charge, the charging system automatically manages power delivery.
One thing many users overlook is the Optimized Battery Charging feature. When enabled, it learns your charging habits and helps reduce long-term battery wear.
You can reduce unwanted calls using the built-in Silence Unknown Callers feature. This automatically sends calls from unknown numbers to voicemail. To enable it:
For additional protection, consider using a trusted caller ID and spam-filtering app.
If your iPhone gets wet, act quickly to minimize potential damage. Turn the device off immediately and gently dry the exterior with a soft cloth. Follow these steps:
Do not place the device in rice, as small particles can enter the ports and cause additional problems.
You can disable location tracking through the Privacy settings. This gives you more control over how apps access your location data. To turn it off:
Alternatively, you can manage location access individually for each app, which is often the most practical option for balancing privacy and convenience.
Learning how to schedule a text on iPhone is one of those small features that can make a surprisingly big difference in everyday communication. Whether you’re sending a reminder, a birthday message, or an important follow-up, being able to plan ahead helps ensure your message arrives when it matters most.
Interestingly, the real value isn’t just about saving time. It’s about reducing the mental effort of trying to remember every task and conversation throughout the day. Sometimes, a simple scheduled message can help you stay organized while making your communication feel more thoughtful and intentional.
As messaging continues to play such a big role in daily life, features like this make it easier to stay connected without constantly checking your phone. Have you started using scheduled messages on your iPhone, or is this a feature you’ve only recently discovered?